Protein is vitally important to your everyday life, metabolism, building of muscle, growing skin and hair.
Protein is not always the easiest to get in the right amounts either, because it often requires preparation and refrigeration.
However, it is worth it to prioritize eating enough protein, and this is especially important if you are responsible for other people’s intake too, like your spouse or children’s.
I just wrote about how much protein you really need to get so read this if you have questions about how you should aim for.
So how do you get enough? There are lots of ways! Try some of these options below! (I saved the best for last!)
1. Change How You View Your Meals
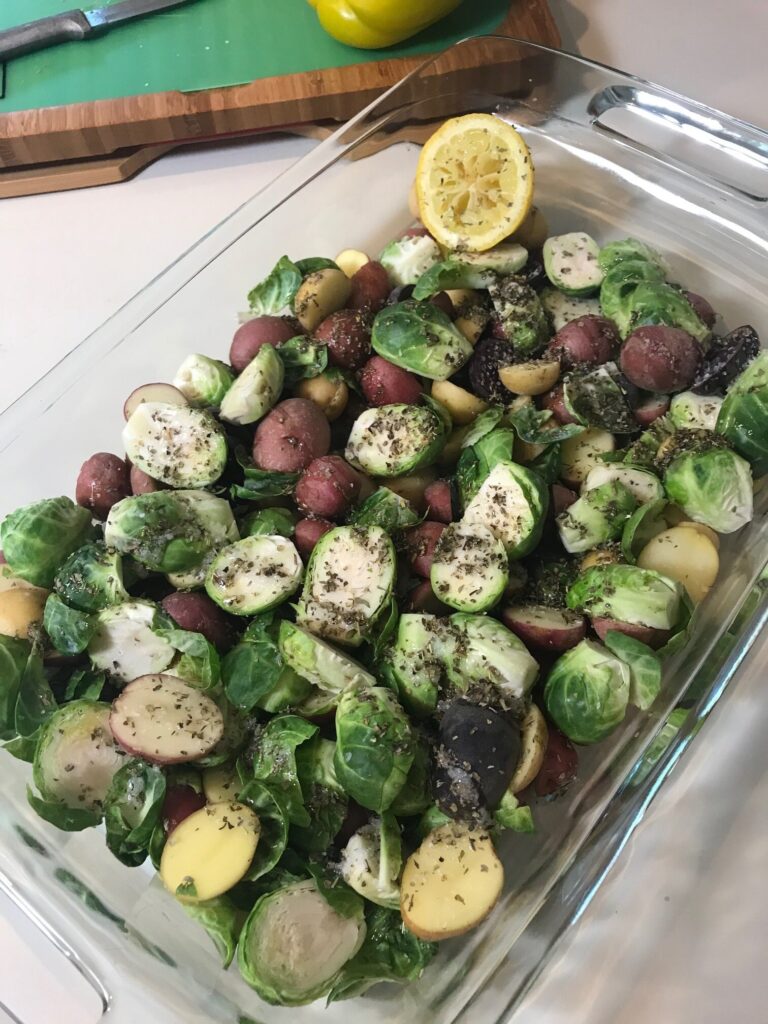
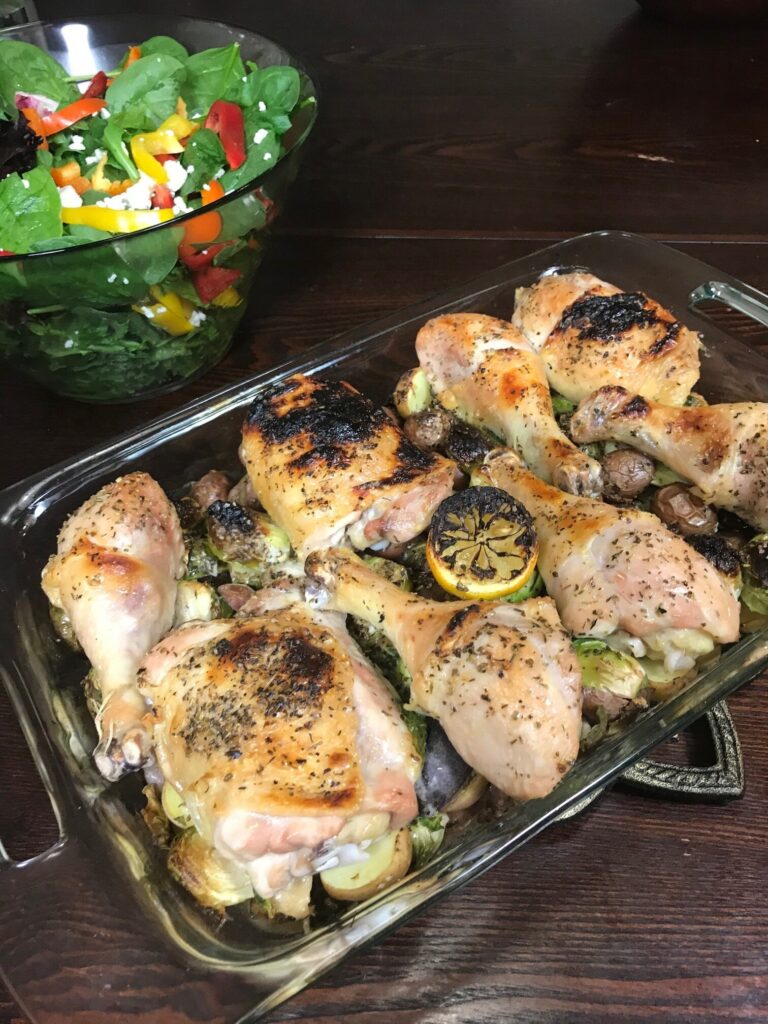
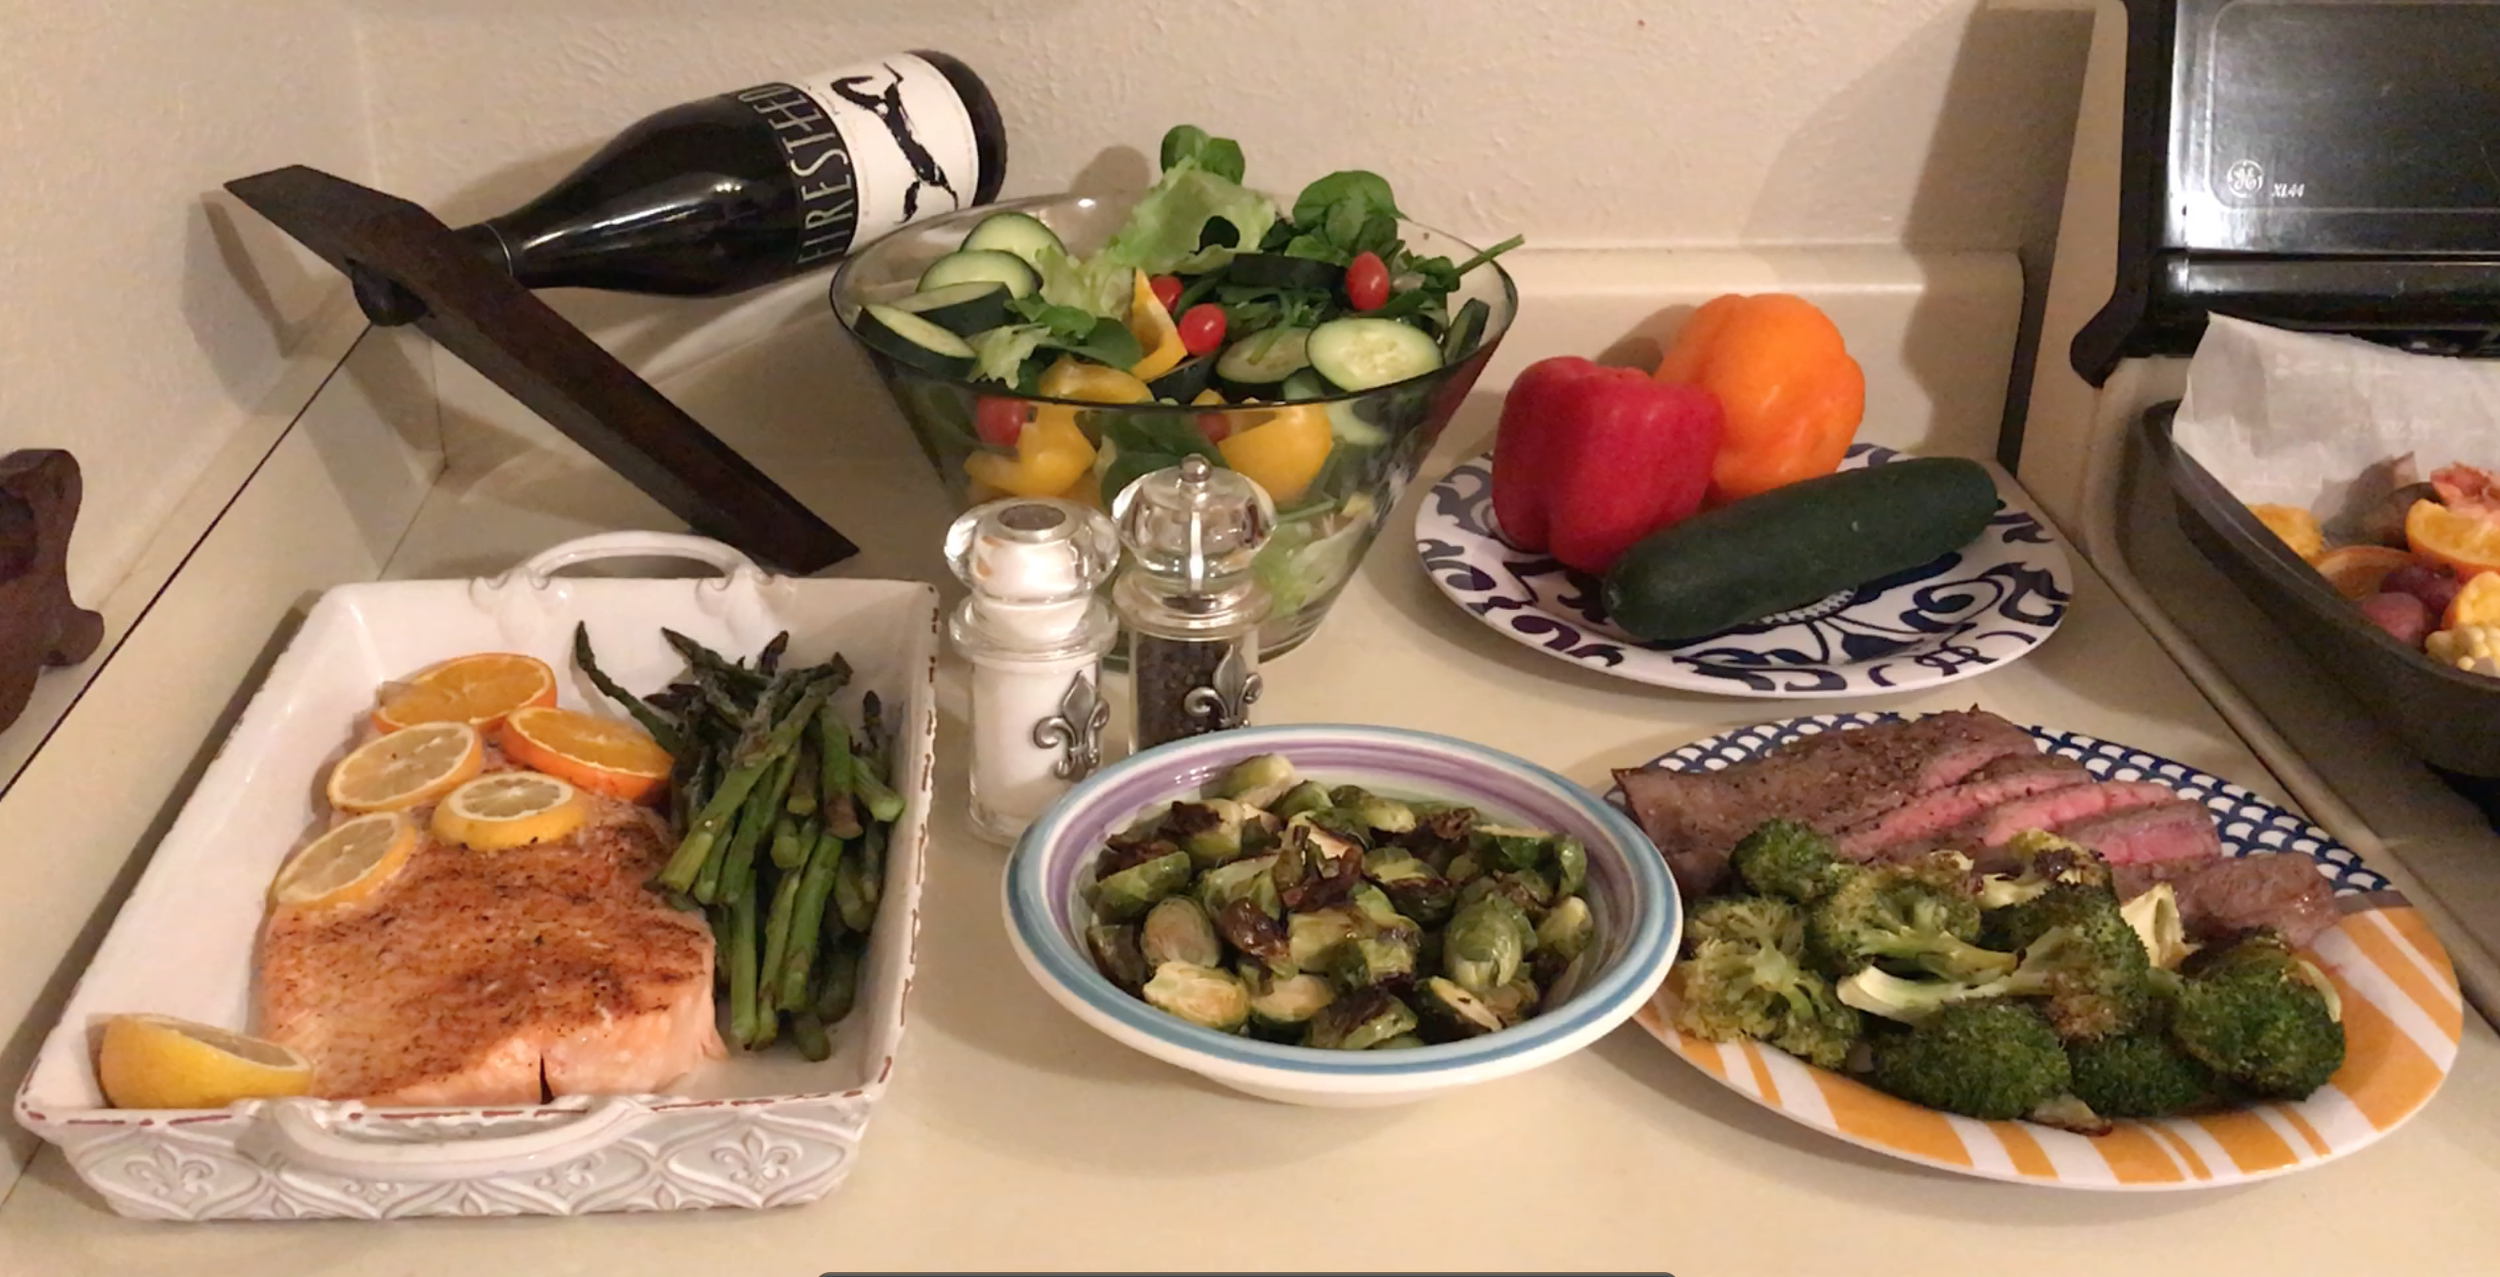
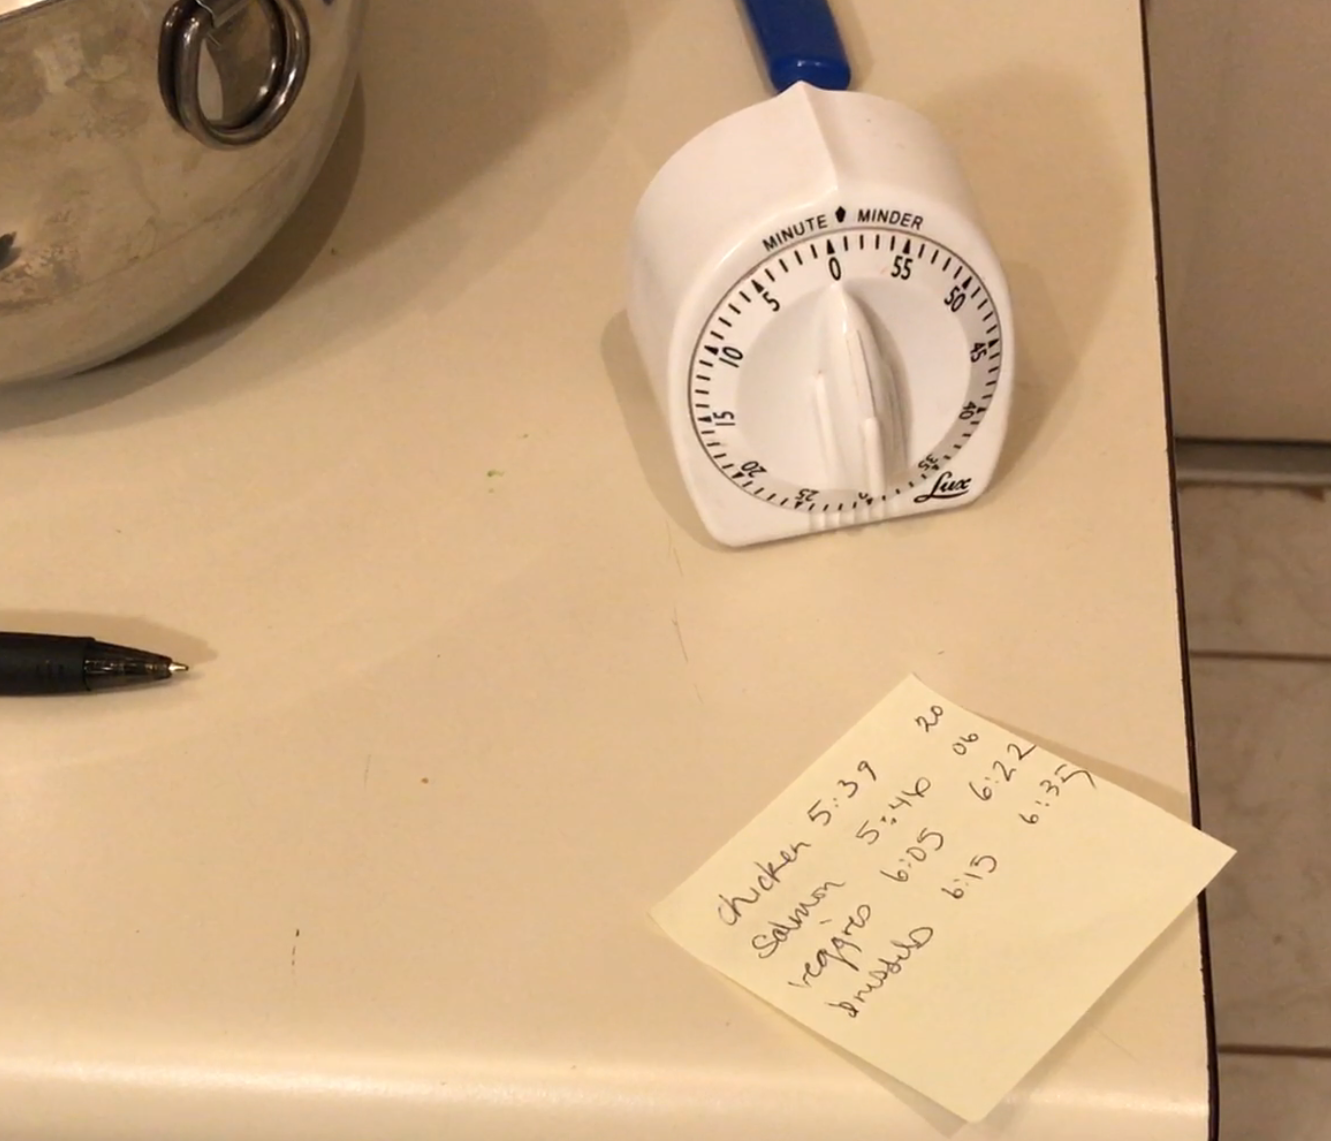
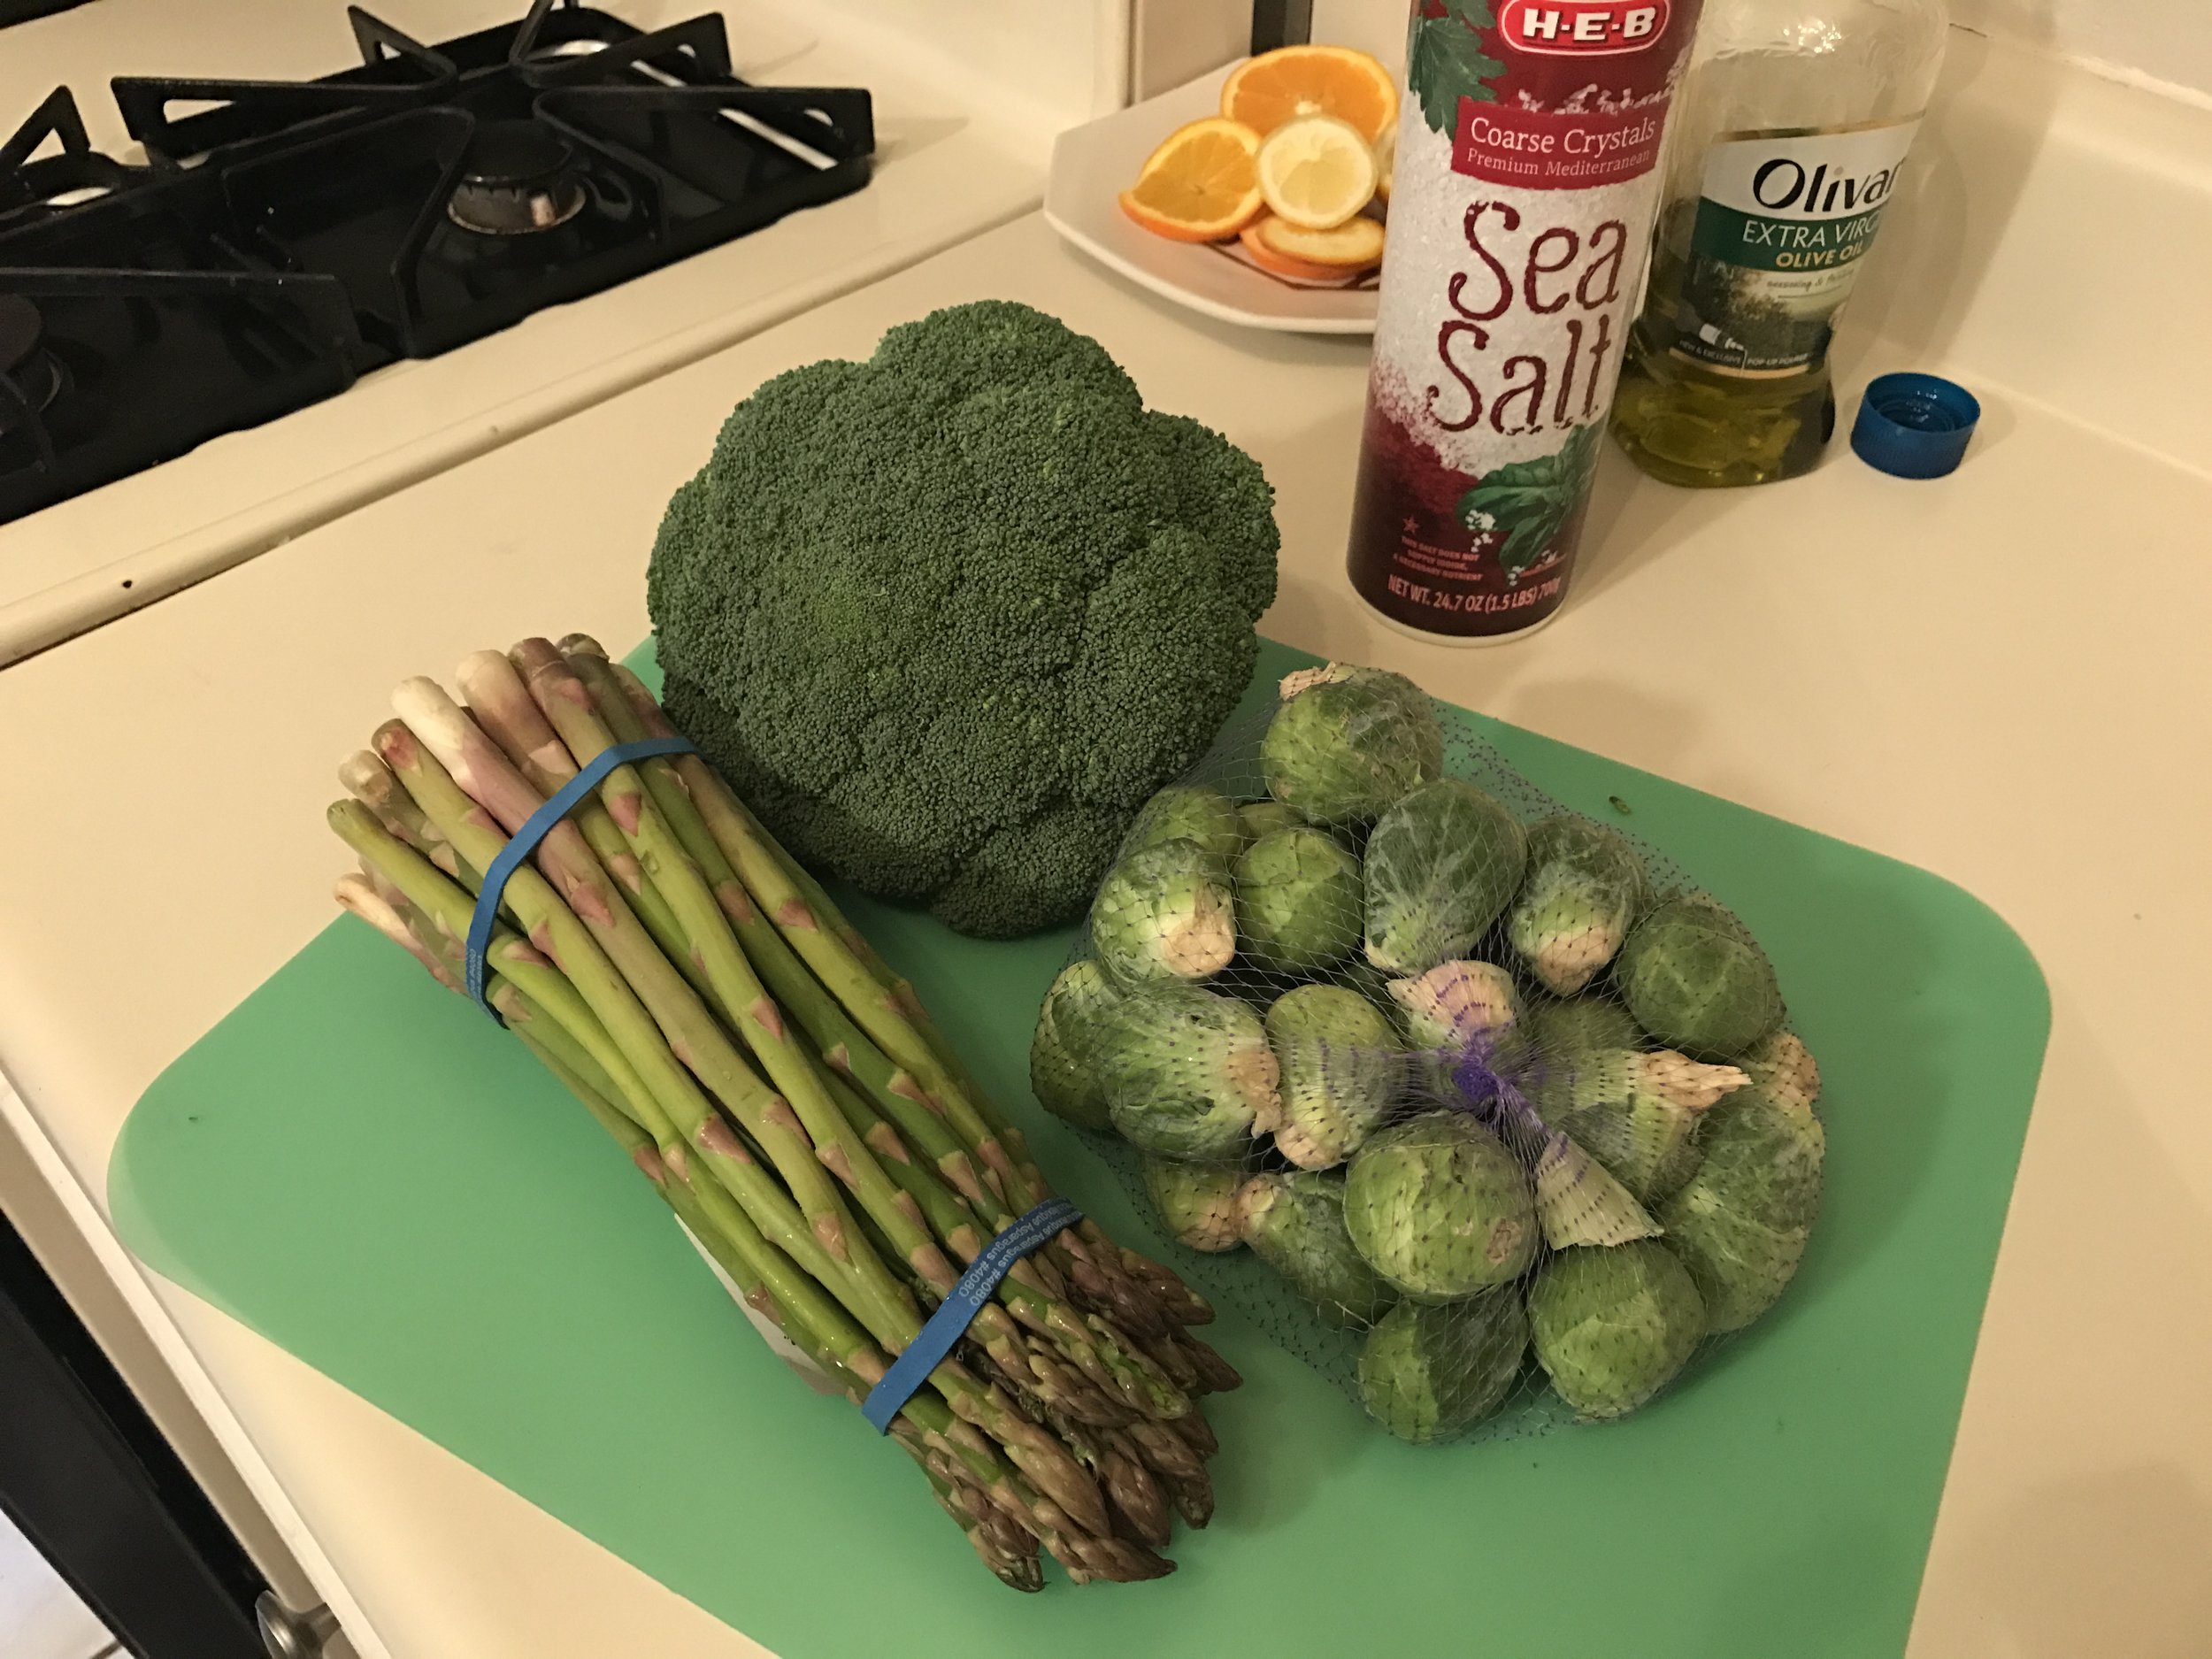
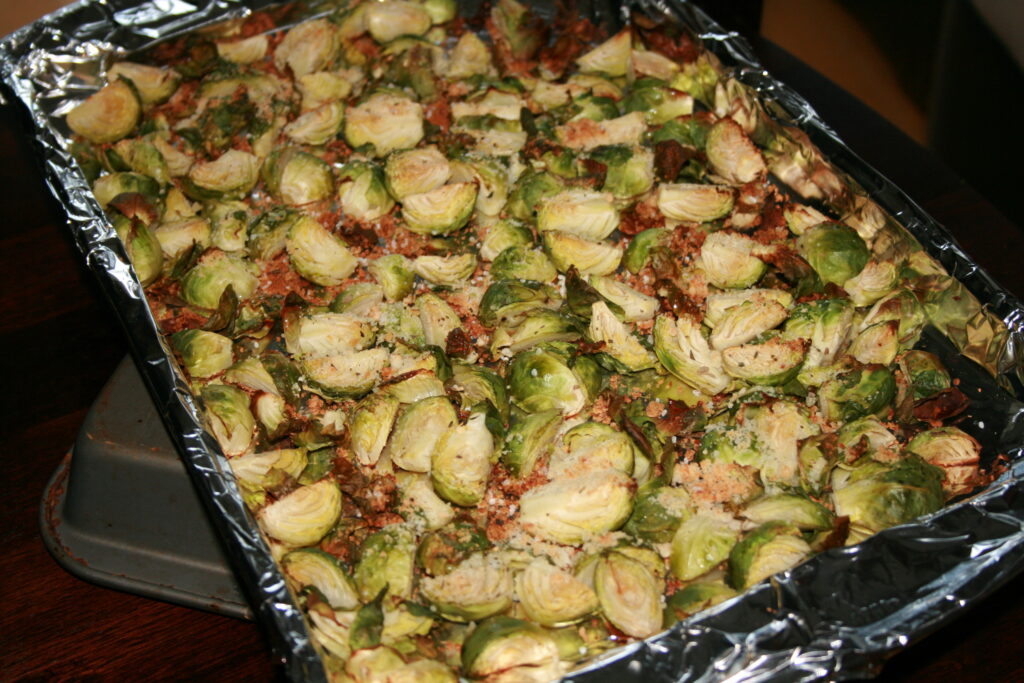
First and foremost, the biggest change you can make, and the most effective in my opinion, is to change how you think of your meal structure. Plan your meal around protein. It must have high quality protein as its base. This means a baked potato or bowl of spaghetti, or even soup, is usually not a meal.
Soup can have protein in it. Make sure it’s around 30 g. Baked potatoes, spaghetti, veggies, and soup are great sides. You can absolutely have those; but a meal should have a backbone of protein.
Once you begin thinking this way, you’ll realize it gives you enough structure to make meal planning even easier.
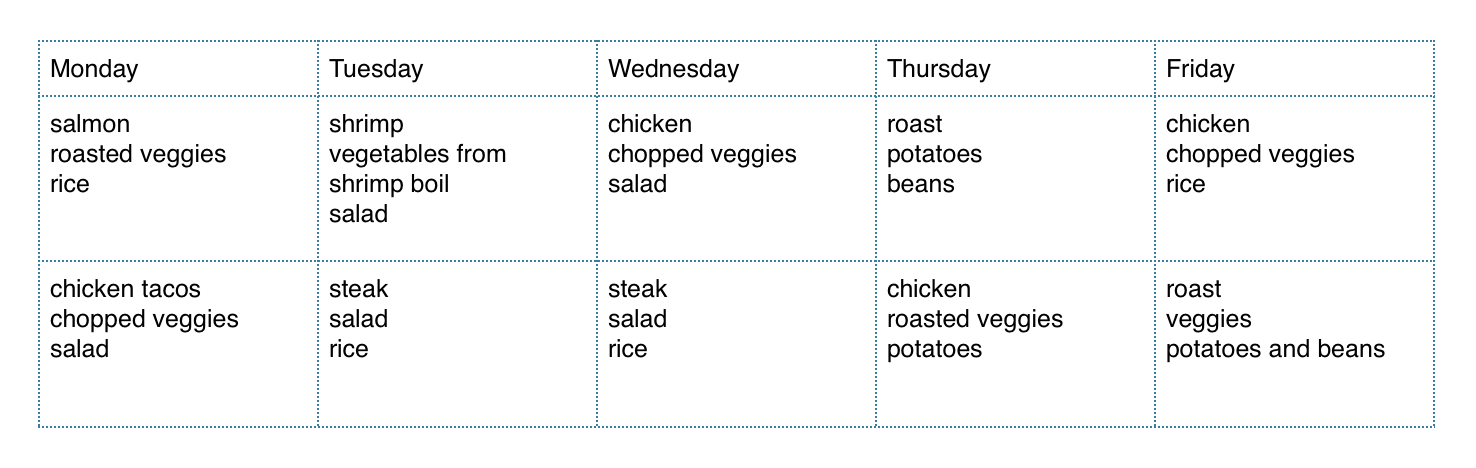
2. Have a System
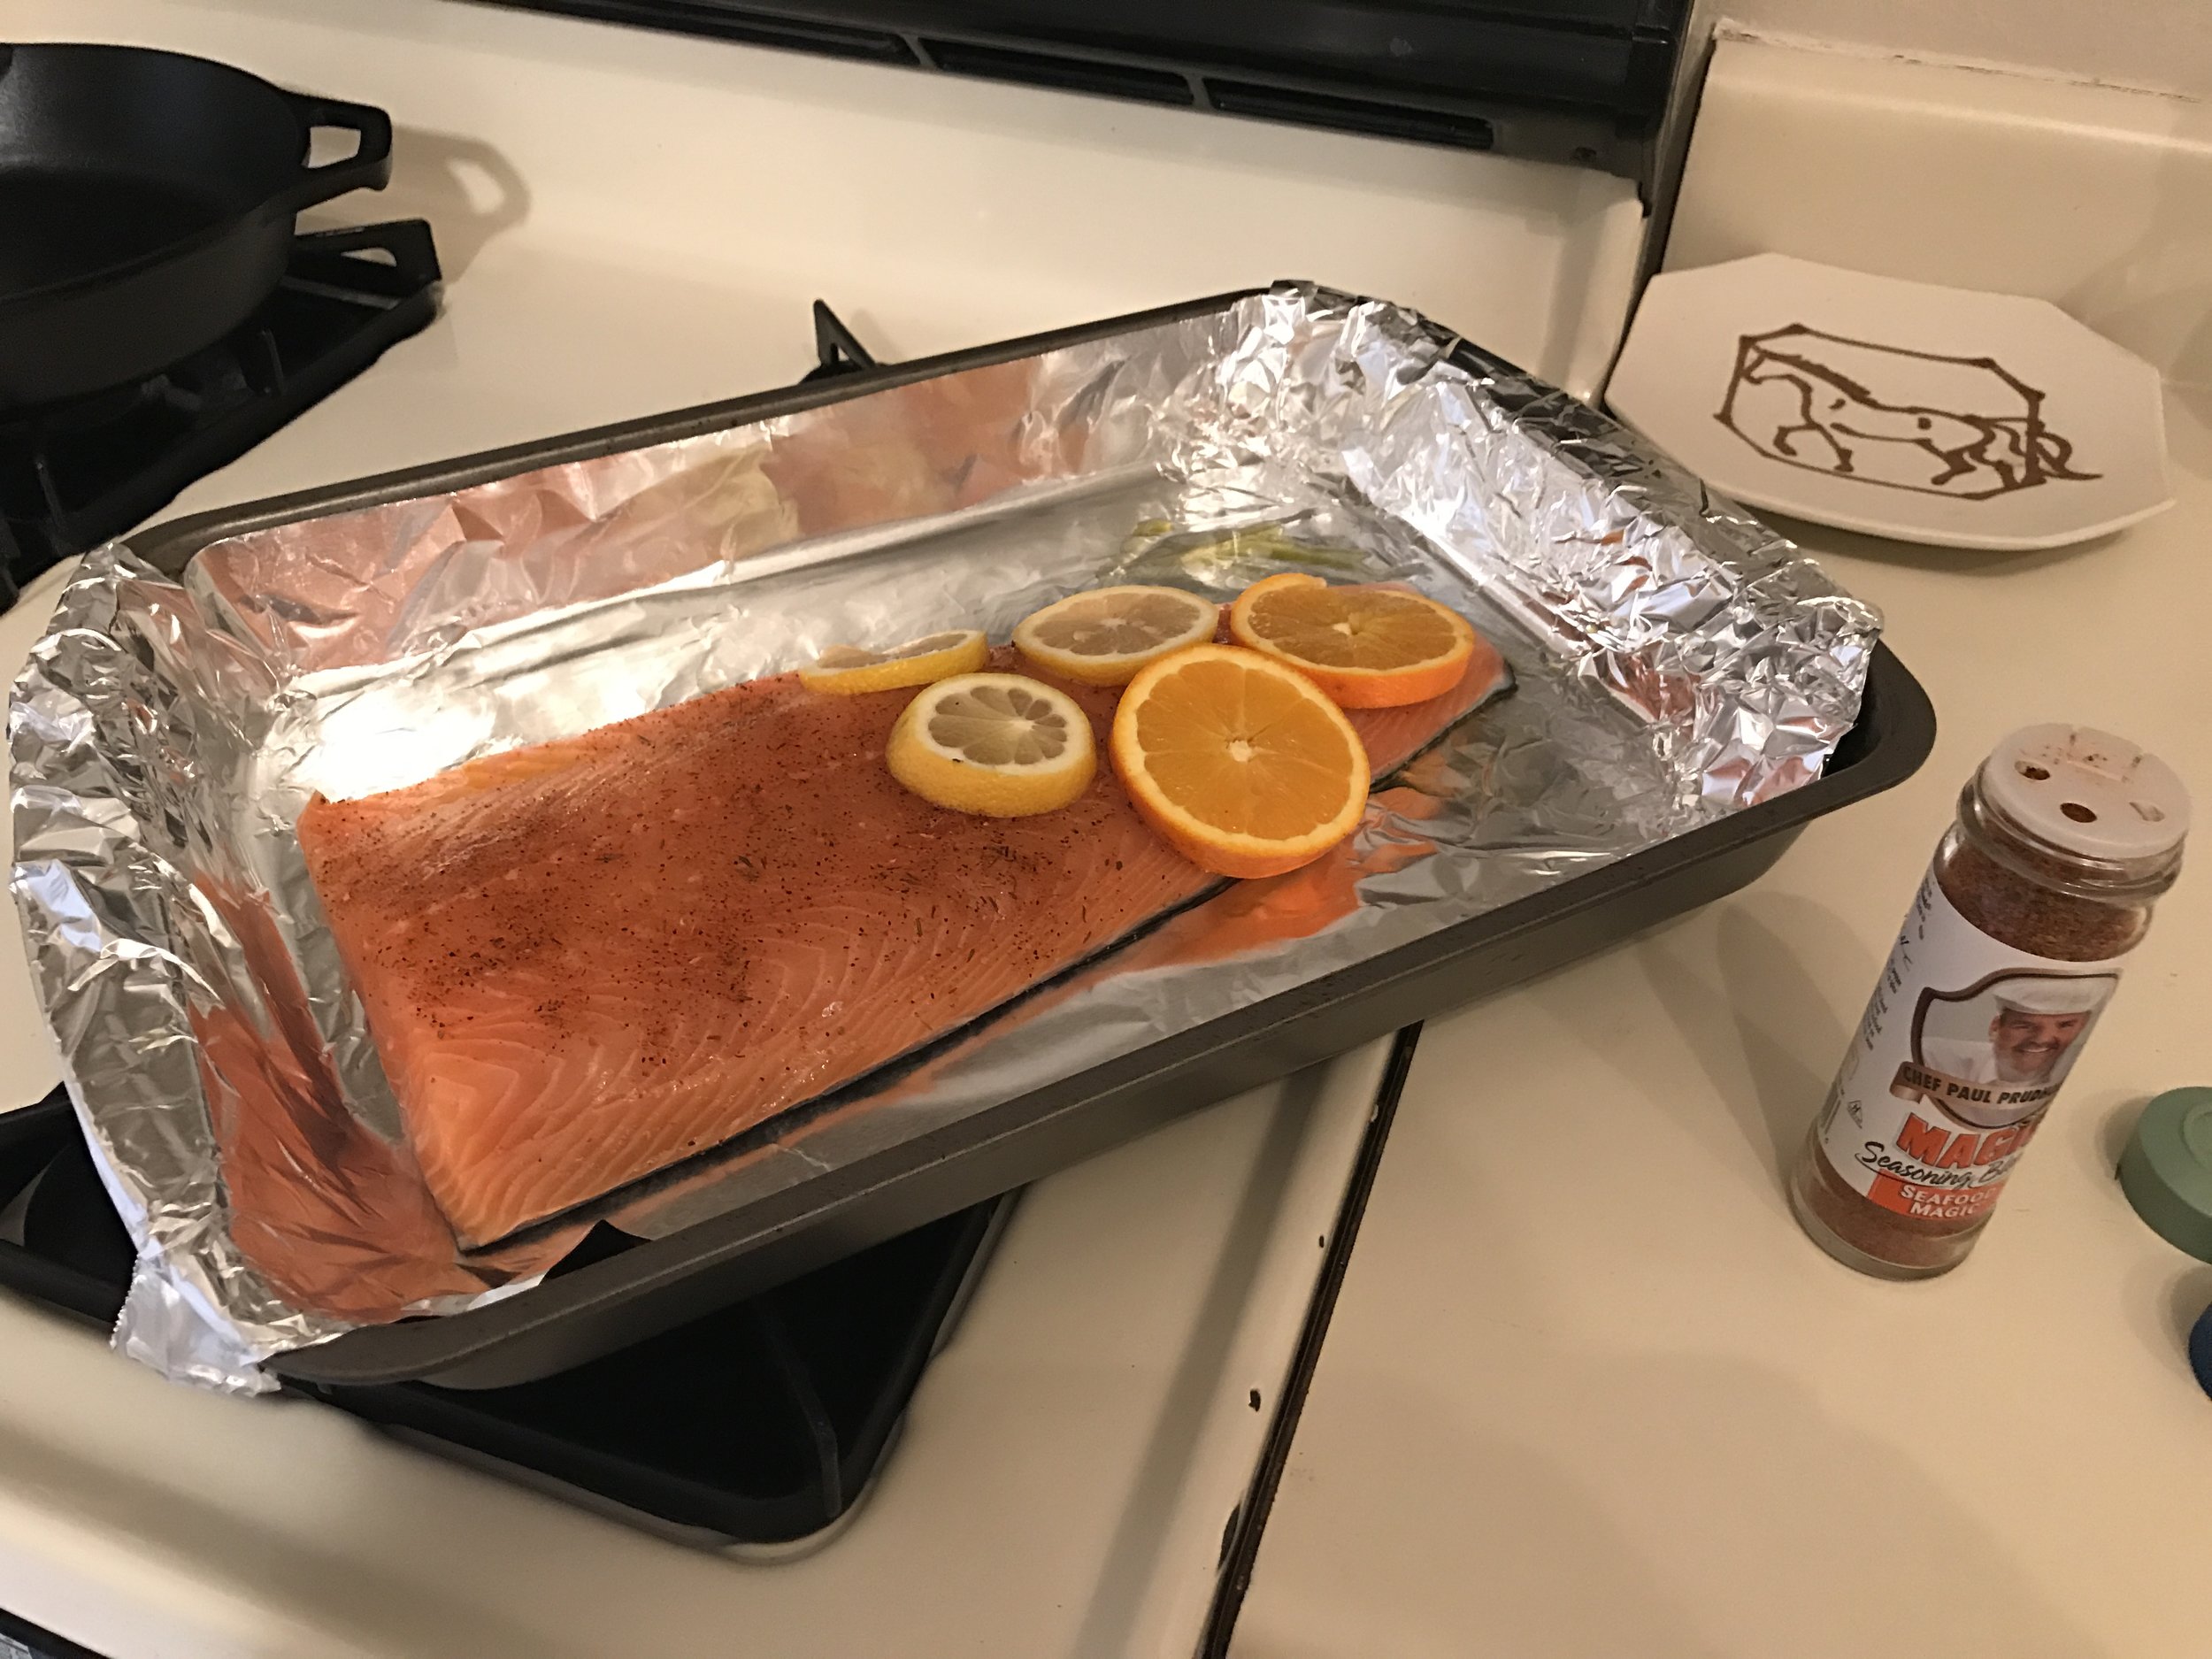
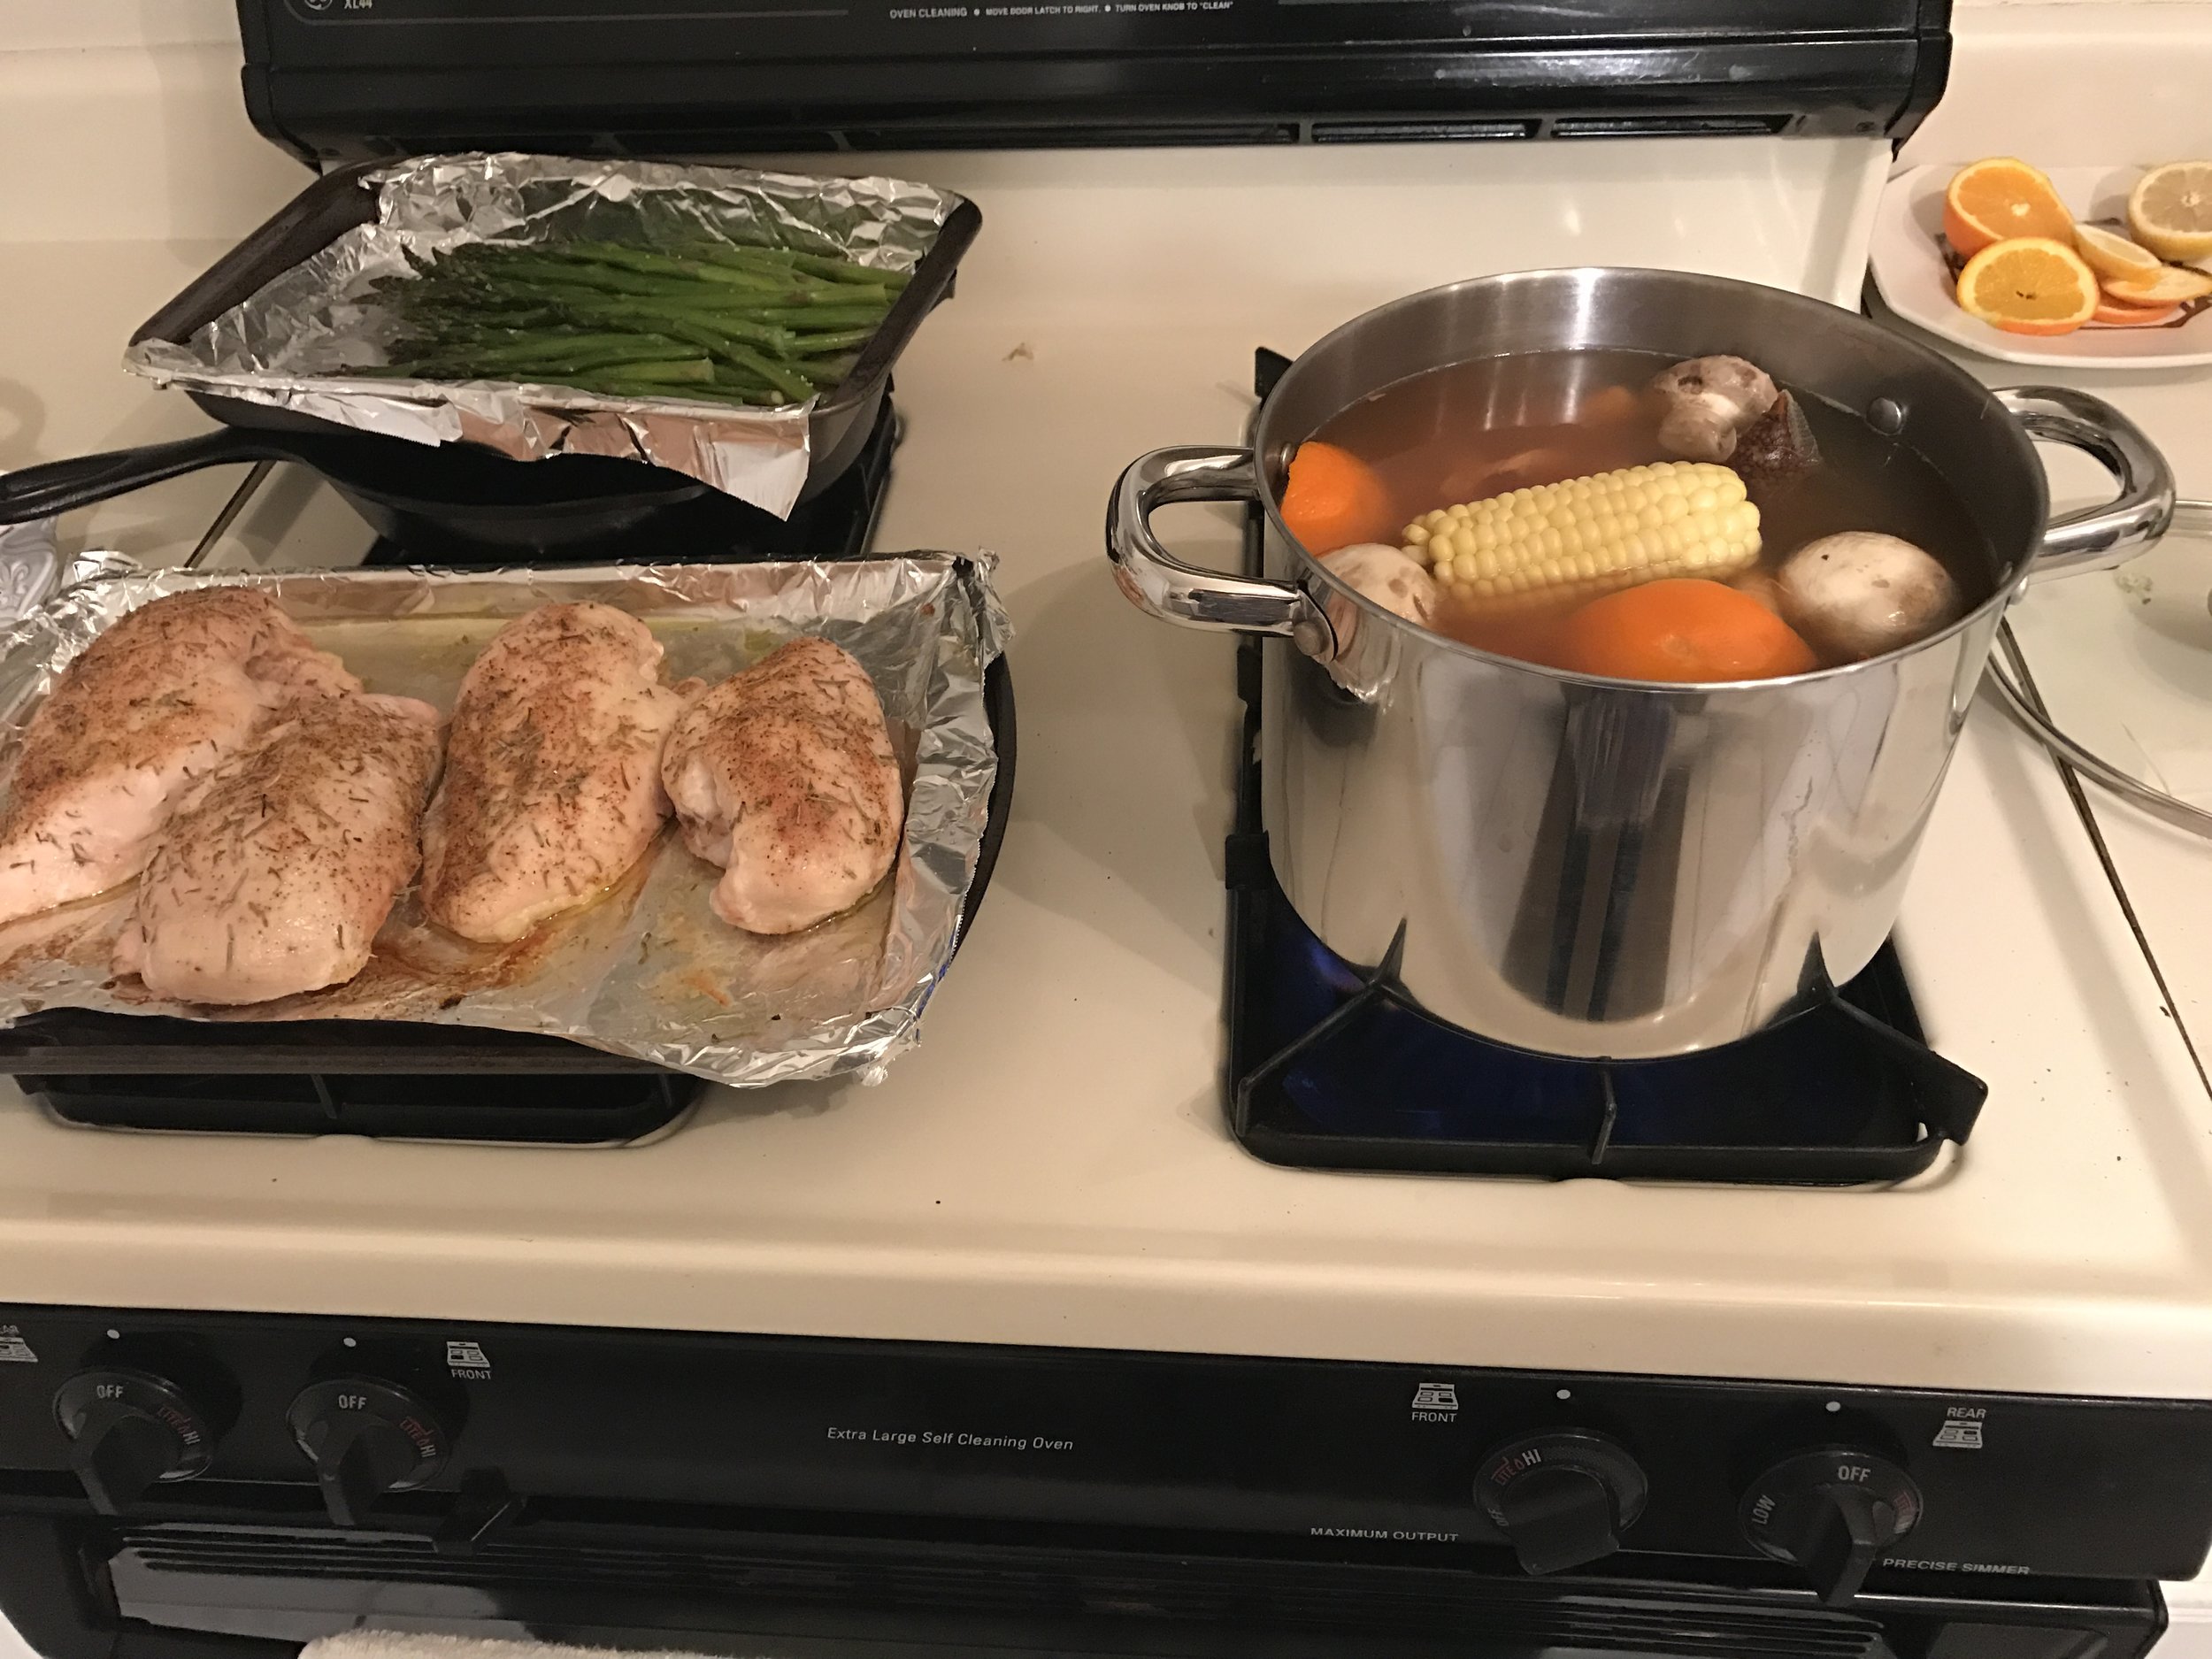
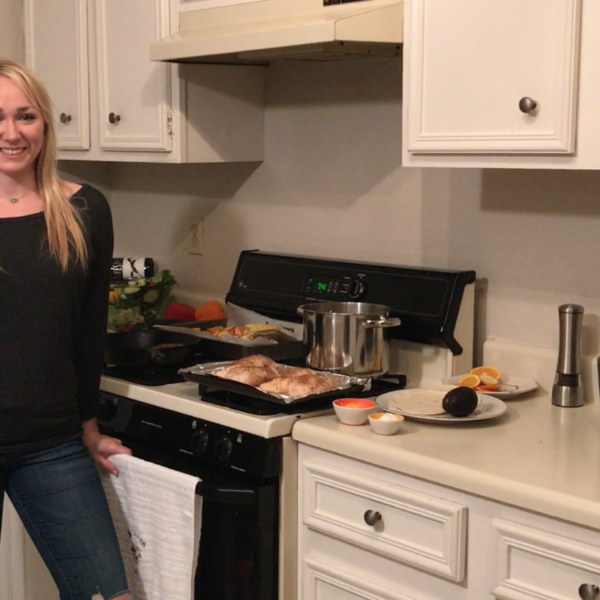
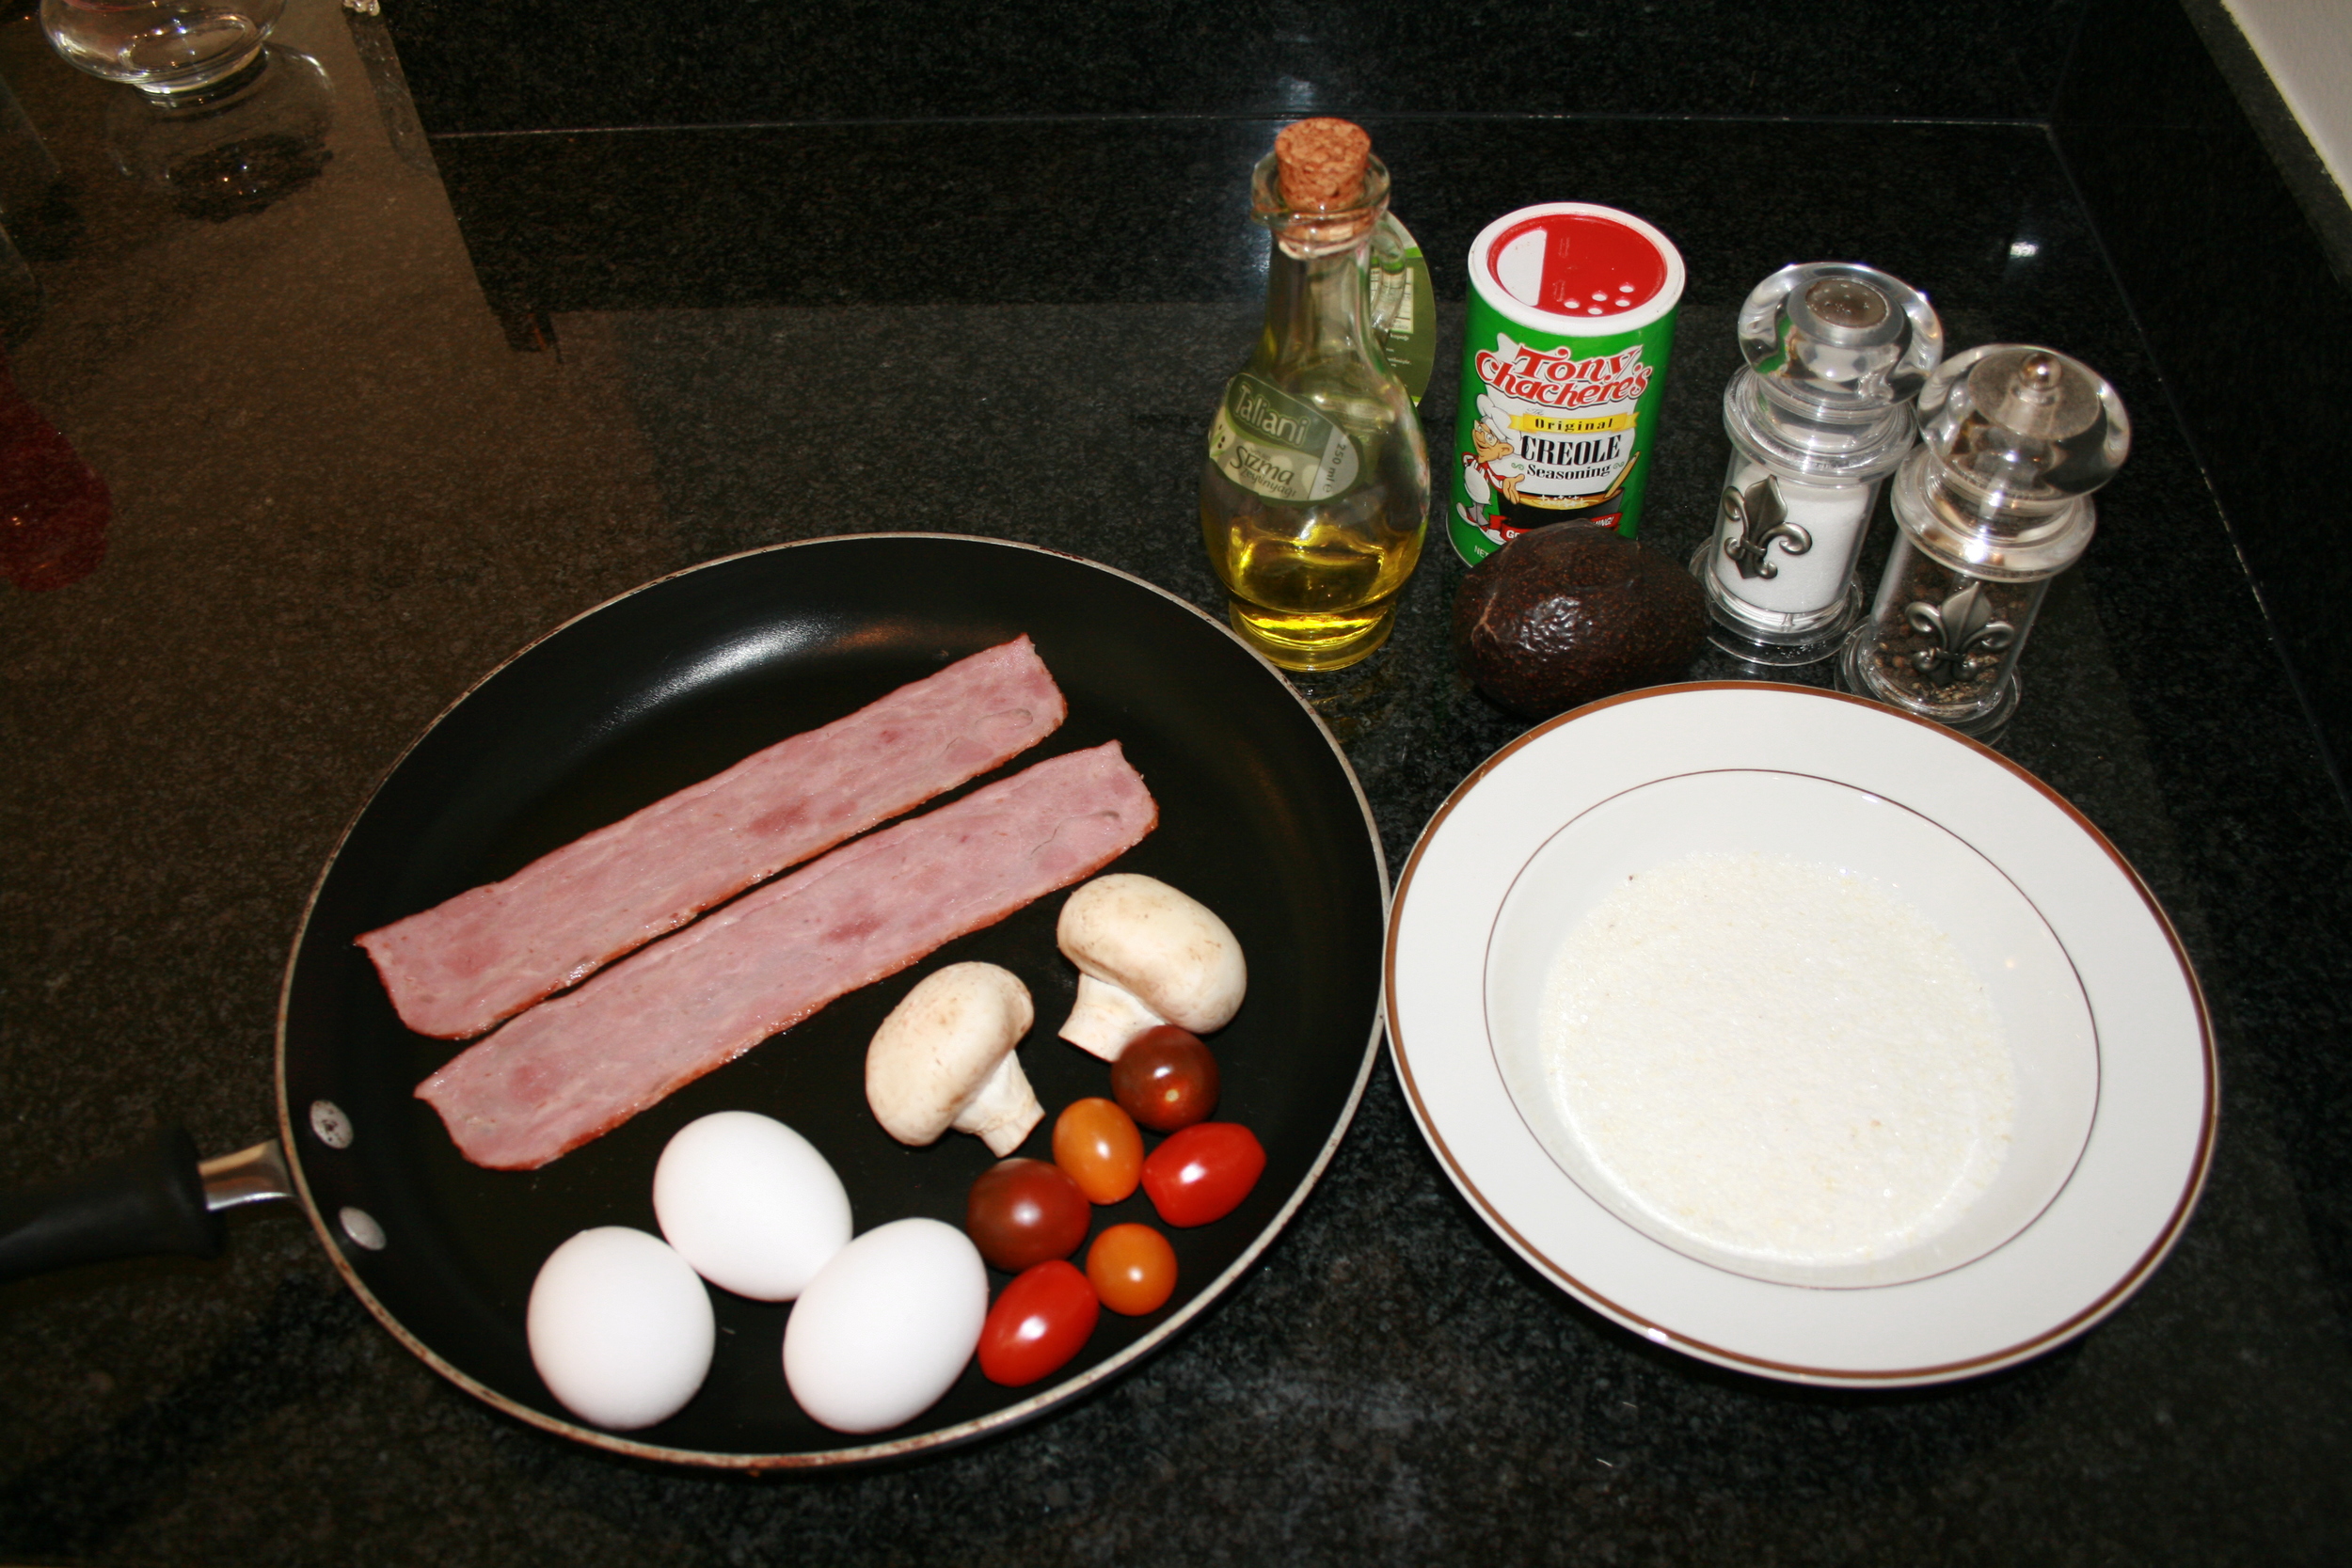
I’ve adopted the viewpoint of having protein as the staple of my meal, so it makes planning them easy. I generally eat fairly protein for breakfast and snacks, I cook meat for supper, and eat those leftovers for lunch.
Eggs or cottage cheese, and fruit, go a long way for me in the morning. I often have a kefir smoothie too. Lunch is already made from yesterday; a no brainer. And finally, I love grilling. I look forward to a new recipe or an old favorite on the grill. If I don’t have the time or inclination to put much effort into it, I simply brown a pound of ground beef or bison, and have fruit as my sides again.
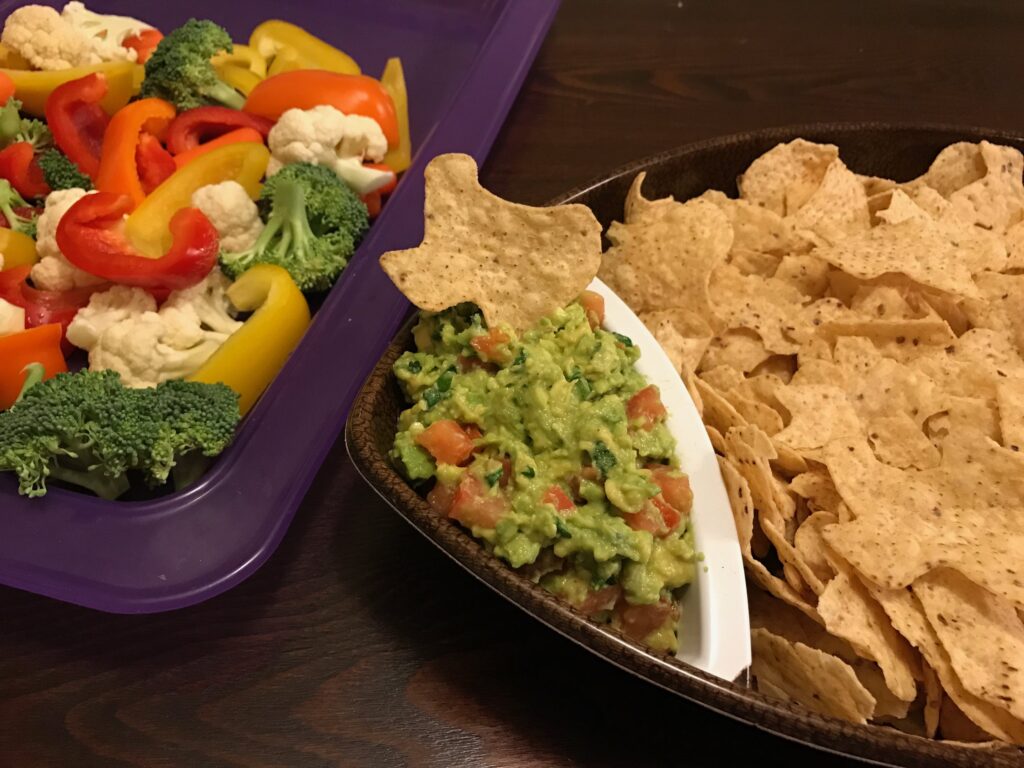
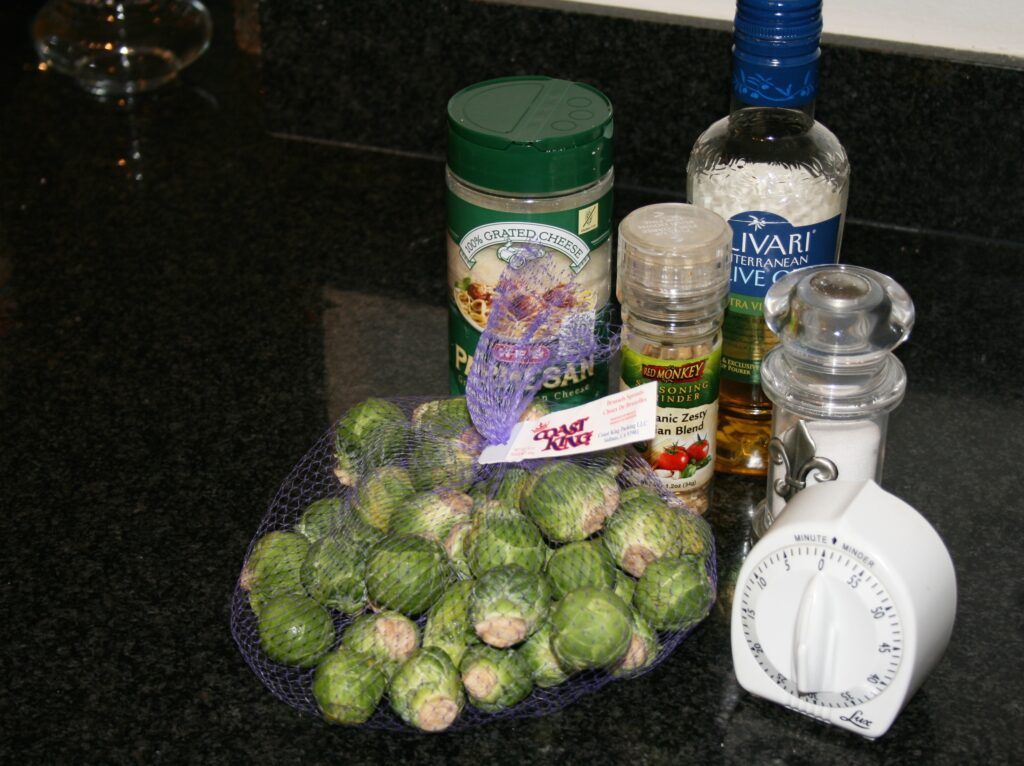
3. Keep Some Tuna on Hand
Keep a quick stash of tune in your pantry. Tuna is quick, easy and packed with protein. It’s not gourmet, I know. But it’s cheap, easy, and keeps for long periods of time. It’s a fantastic backup for the days I need a little something to hold me over until dinner, or times we get those unpredictable Austin storms and I don’t want to drive to the store in the rain.
You can mix it with some mayo, cracker, or relish if you’re a total weirdo. 🙂
4. Eggs
Eggs are so versatile! I love eggs because I think they are delicious, easy, and they are high quality protein. Boiling eggs is quick and easy. Scrambling a few in a pan or making them over easy is also pretty simple. I went through a long phase of poaching eggs, which was a little more like an art form that I never quite perfected. It was fun though, remains a staple in my diet. Many people like eggs too, so you can usually find a way to make them that complements your family’s tastes.
5. Protein Powder
Protein powder is a great way to supplement protein in your diet. This is not cheating or taking a shortcut. Make sure you get a high quality protein, and do not let it substitute real food or real meals. Use it as a supplement, not a substitute.
There are many people out there who get creative with using protein powder to make high protein snacks. If you google “how to make high protein bread” or “how to make high protein pancakes” you’ll find many options!
You don’t have to bake with it, however. I don’t. If I have a protein shake, I just mix it with water. I like regular bread, in normal amounts, and protein powder as a holdover. However, you can experiment with this if you like to be creative with your baking.
6. Plan Your Protein On The Go
Admittedly, I am a planner. I do this because it’s logistically and financially easier. I do find myself in a pinch sometimes, where I don’t have enough time to get a full meal but I’m starving. In this case, my go-to is beef jerky or Greek yogurt from a convenience store. Many of the newer convenience stores now carry a nice refrigerated section. I keep a box of plastic spoons in my glove compartment at all times, specifically for times like this.
Related: How Often Should I Workout?
7. Know What Restaurants Are Around You
By now, I hope you start thinking in terms of building your meal around protein first. This will allow you to have your go-to restaurants. BBQ places are abundant in Austin, where I live, and offer great protein options. Most sit down restaurants have a grilled or baked chicken plate. Even Chick-Fil-A has grilled chicken salads. Look around you and see what works for your needs and schedule.
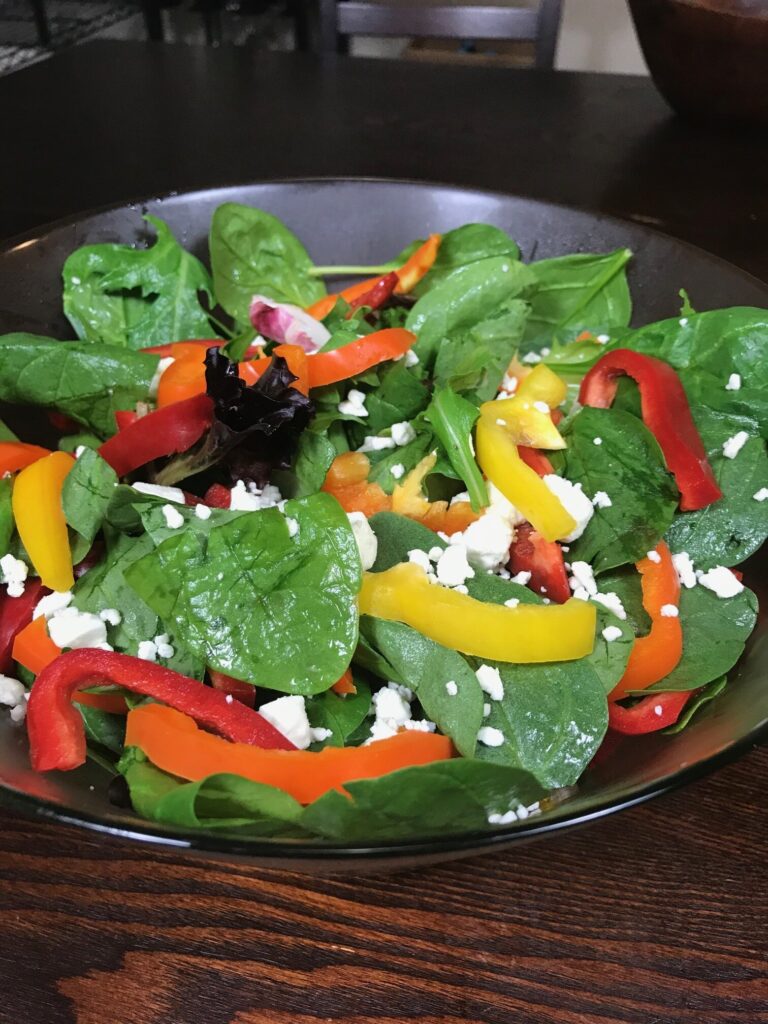
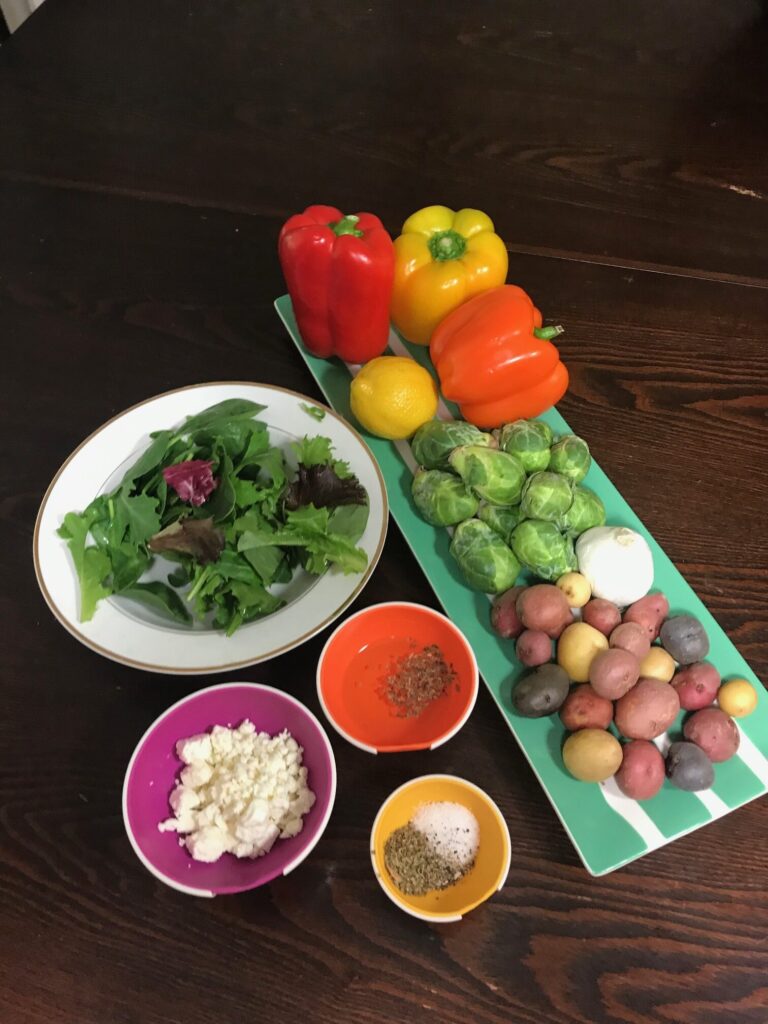
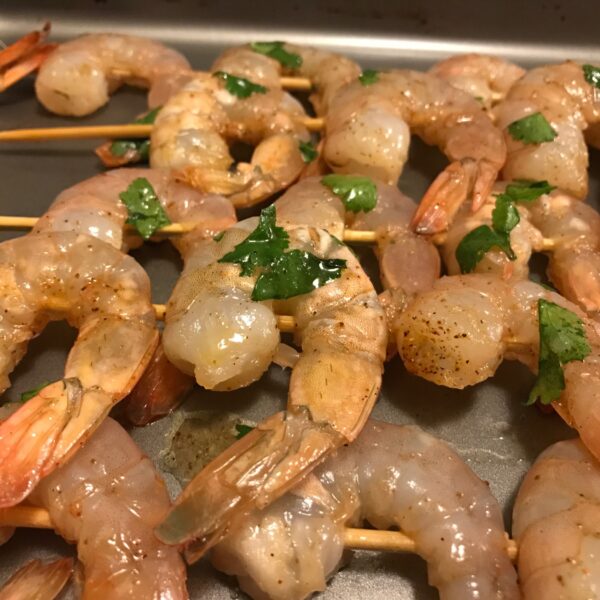
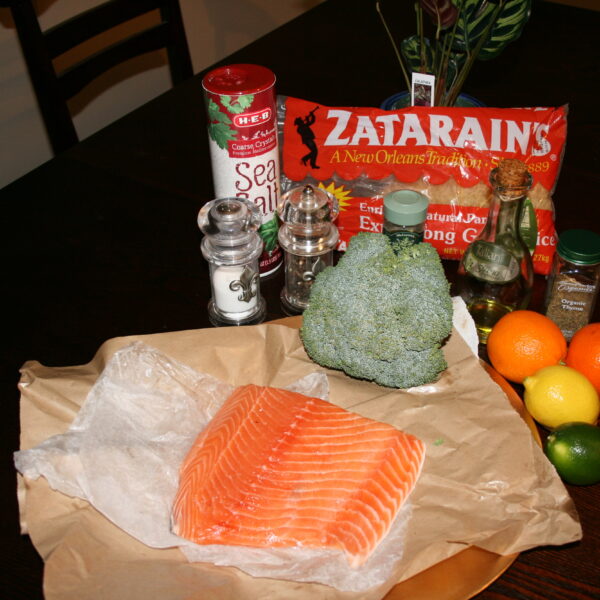
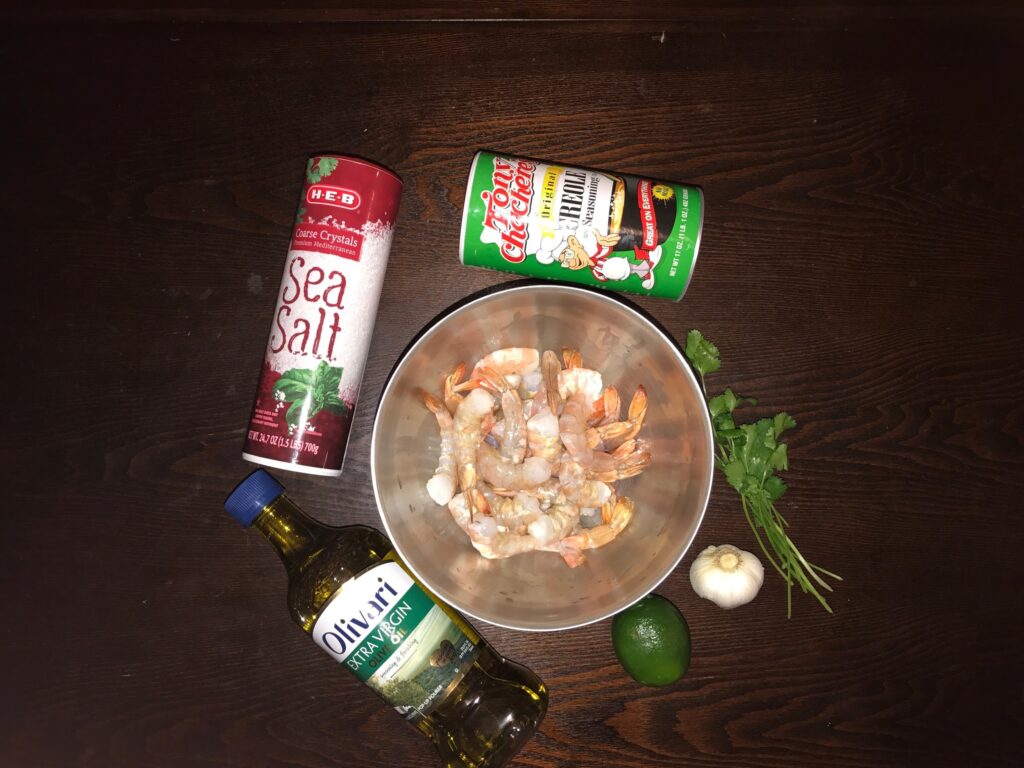
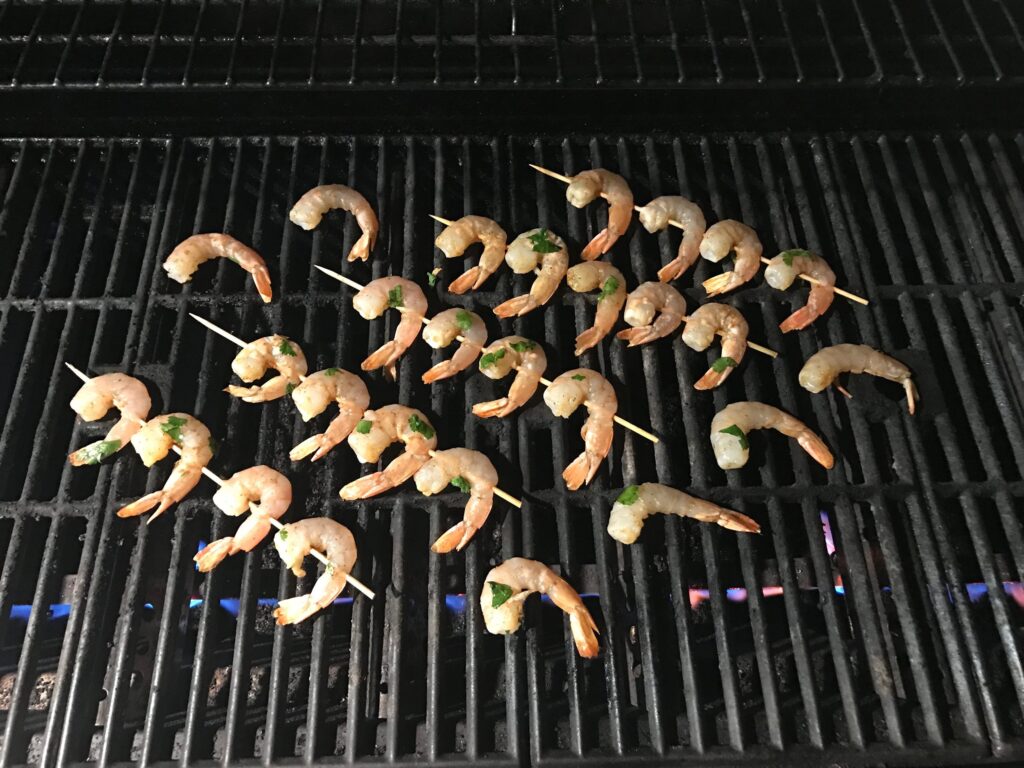
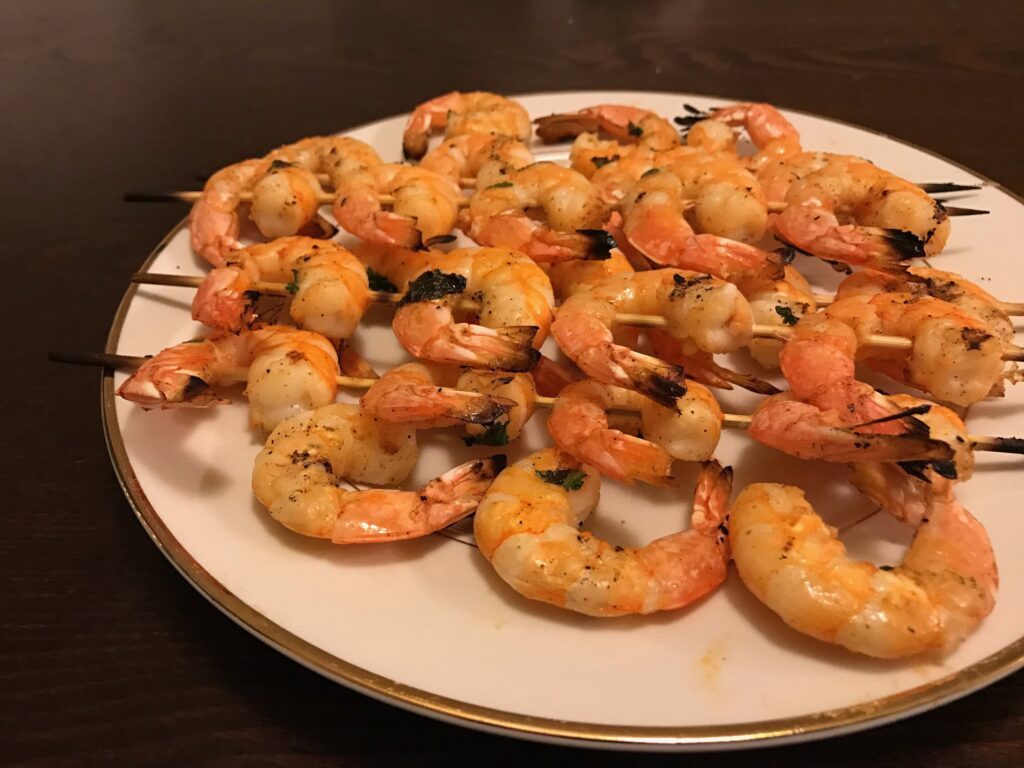
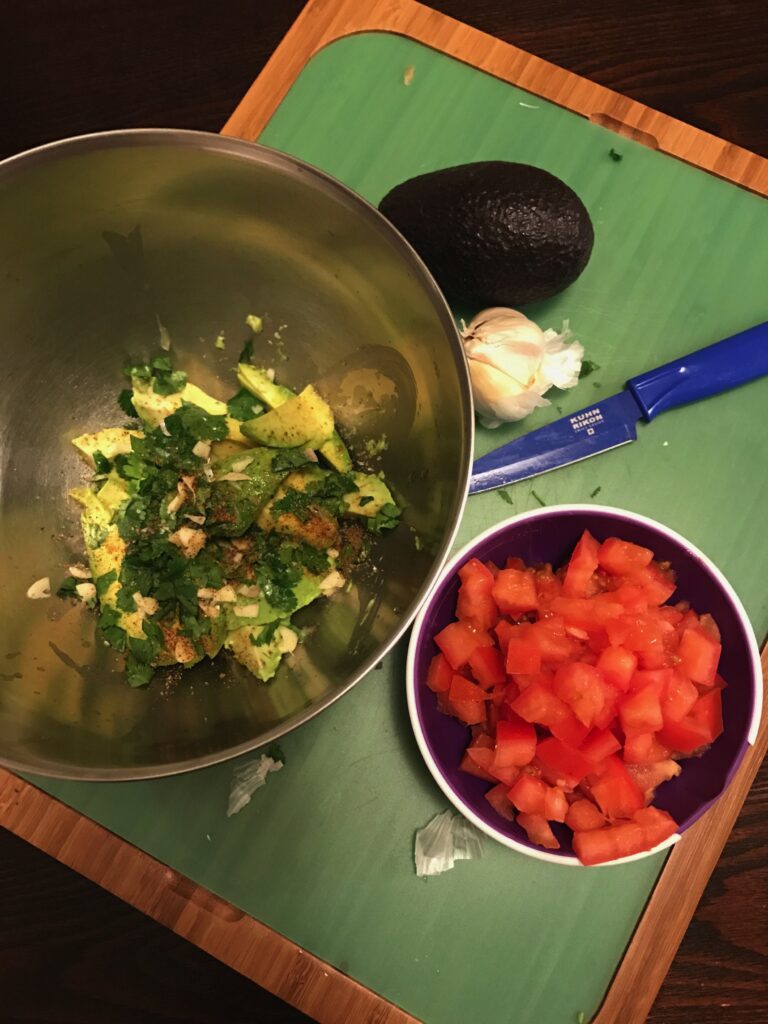
8. Try New Protein Sources!
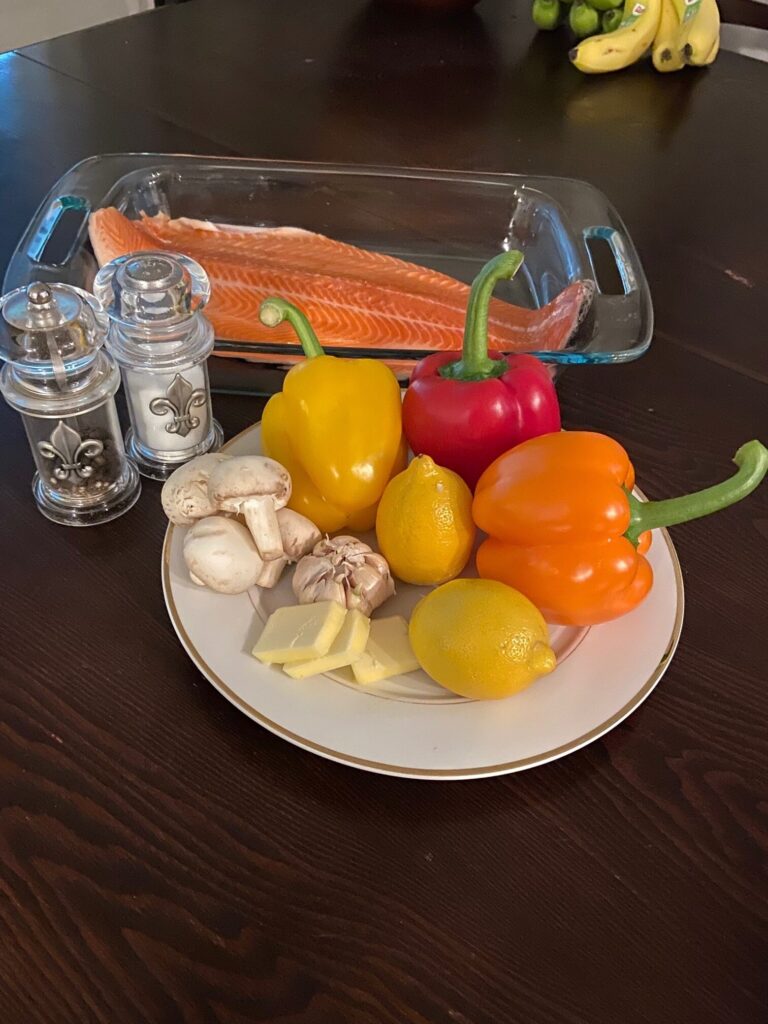
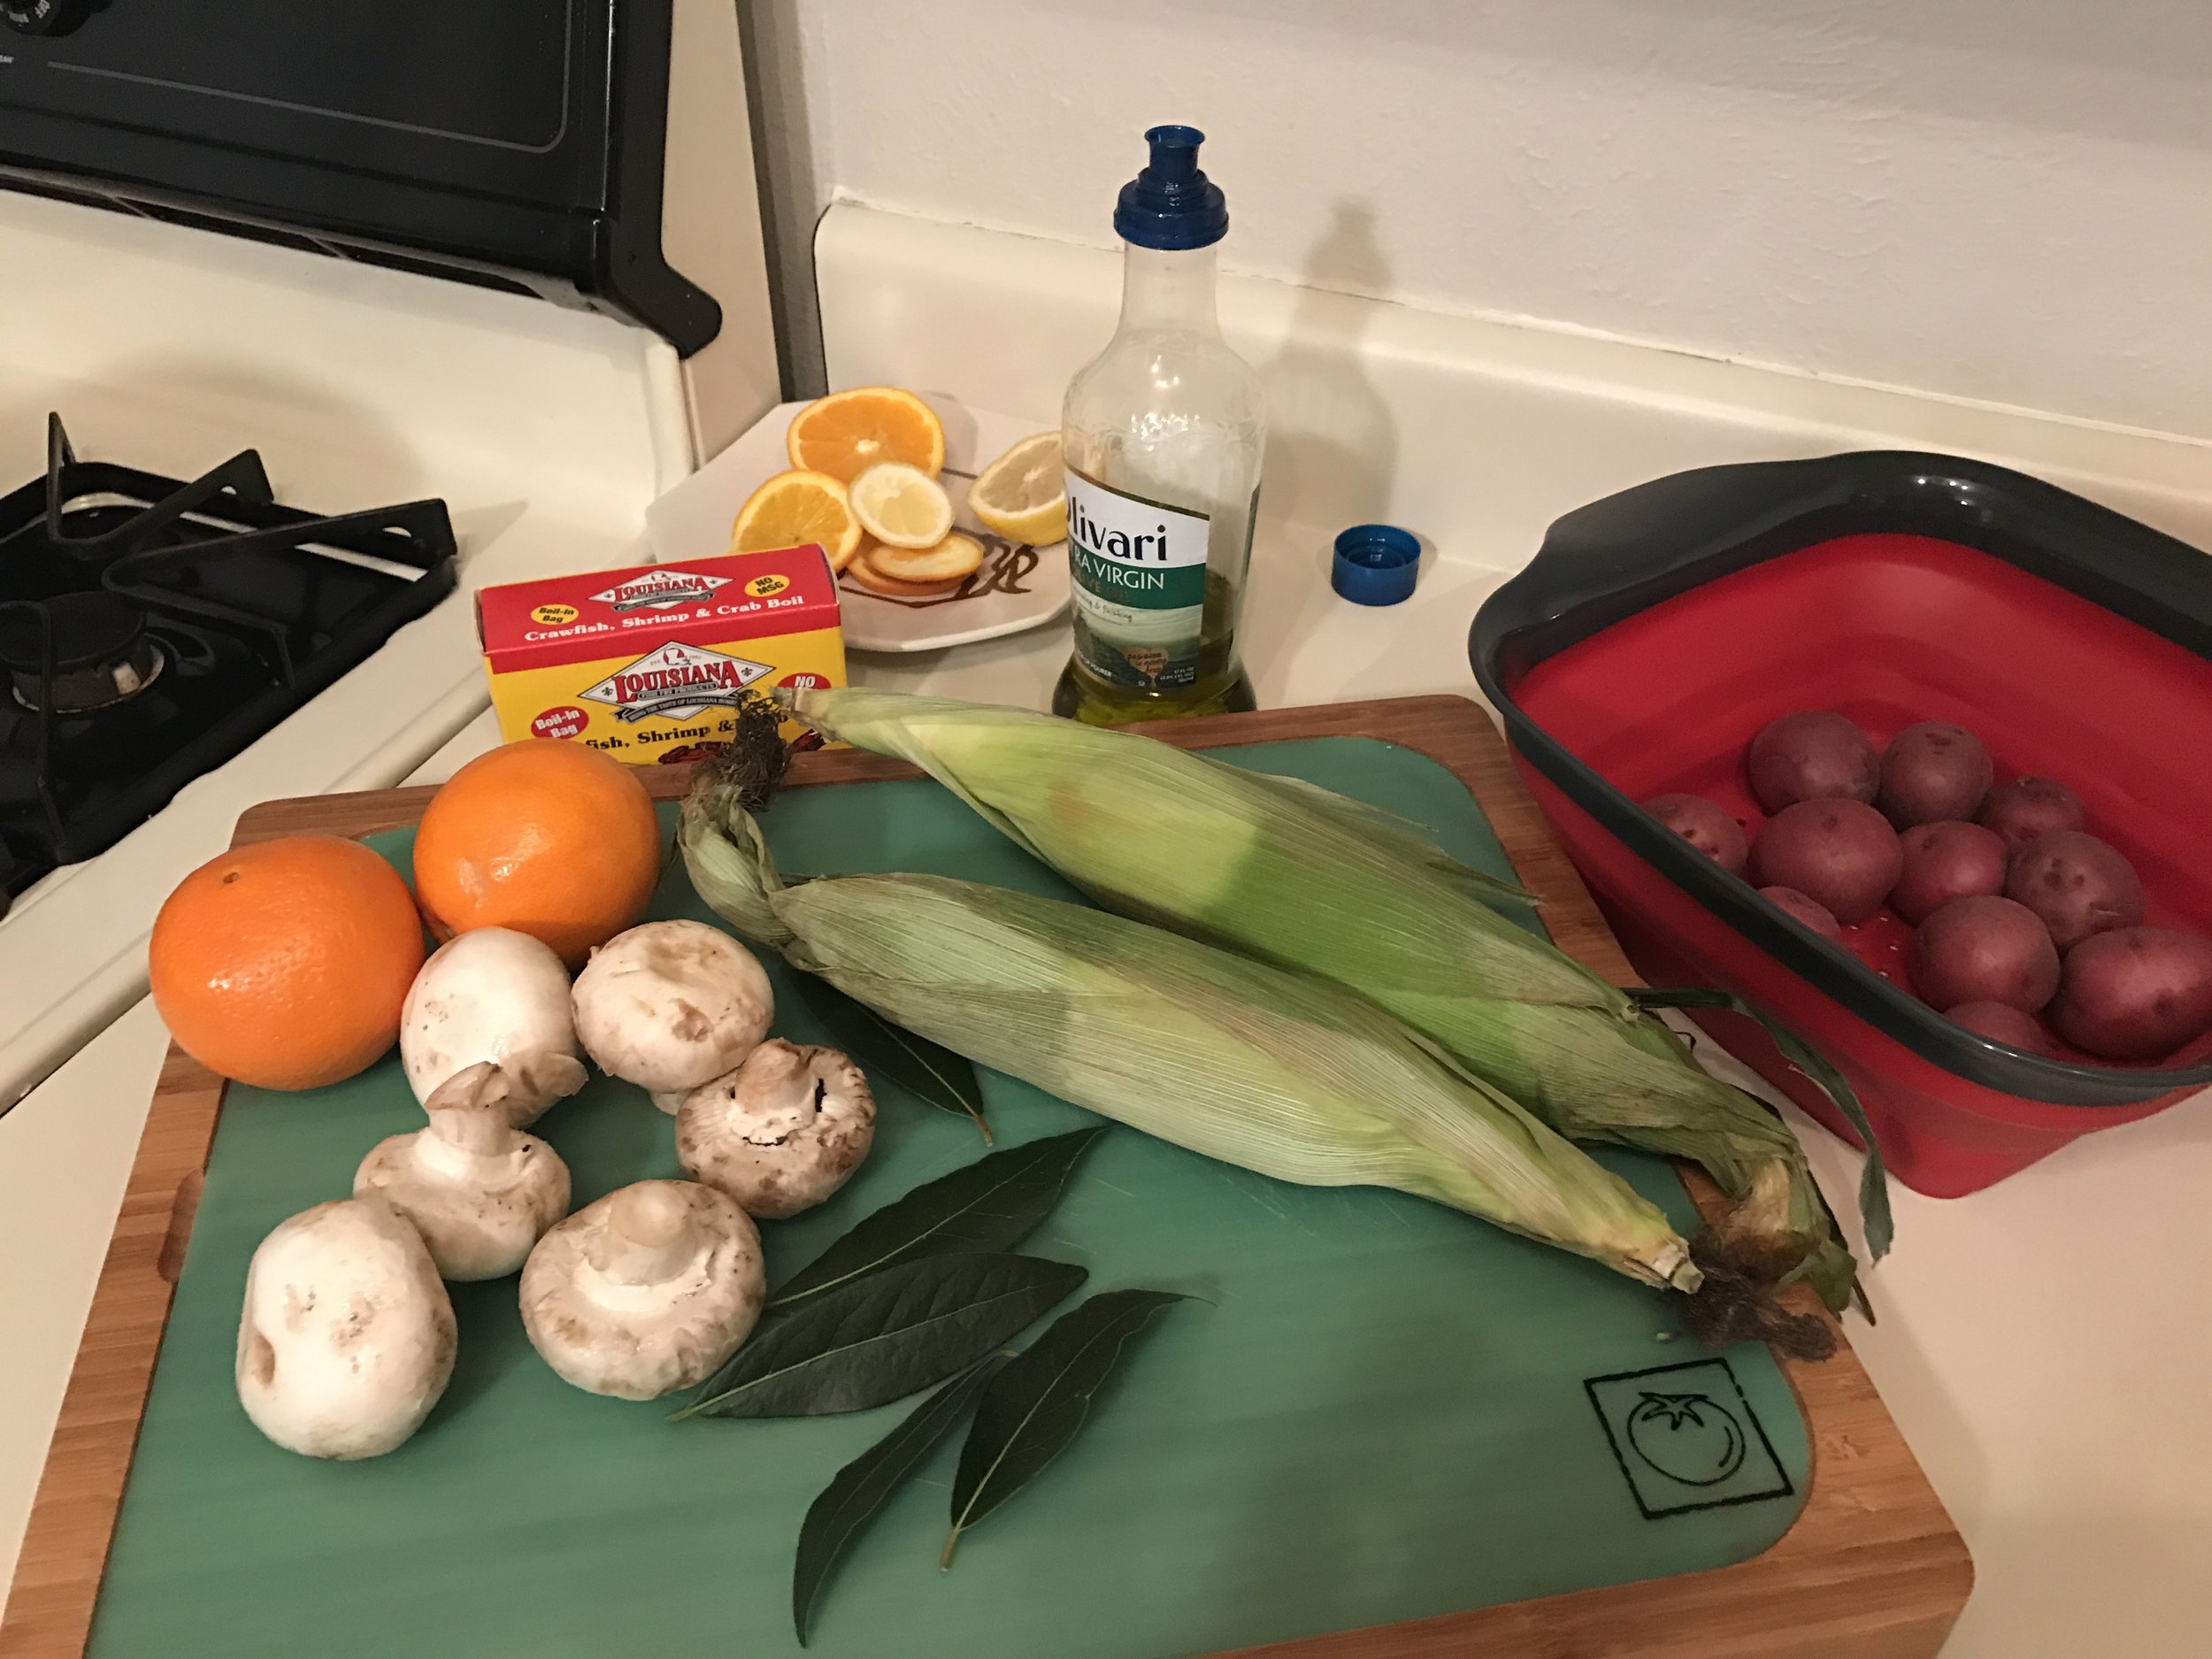
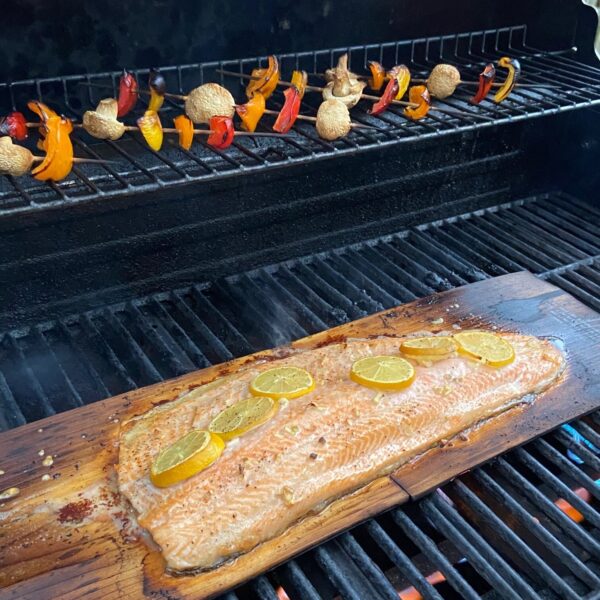
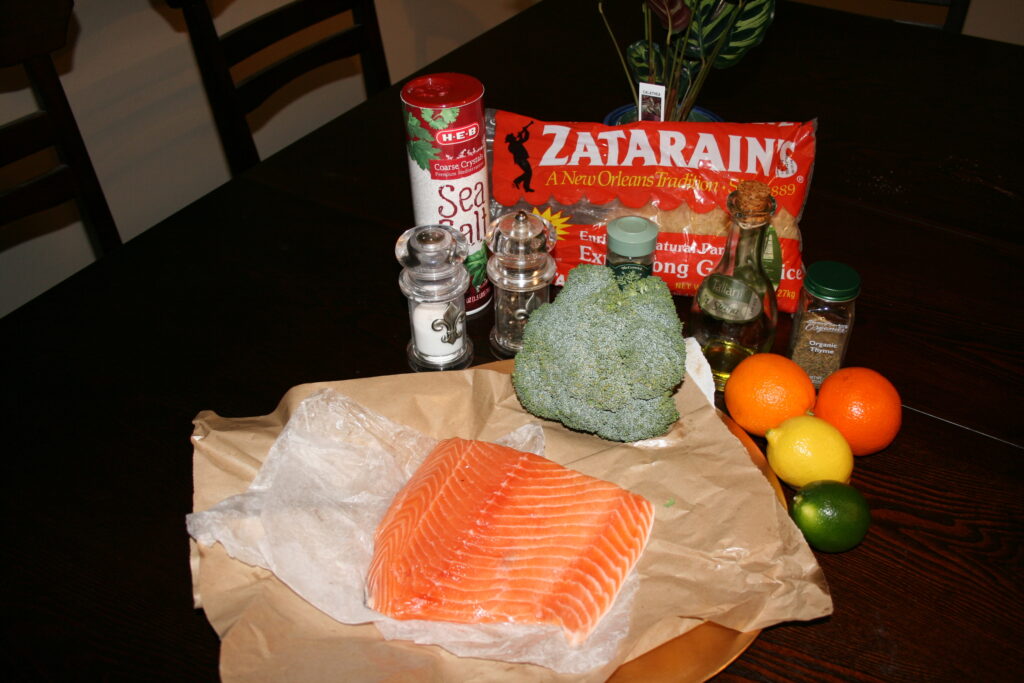
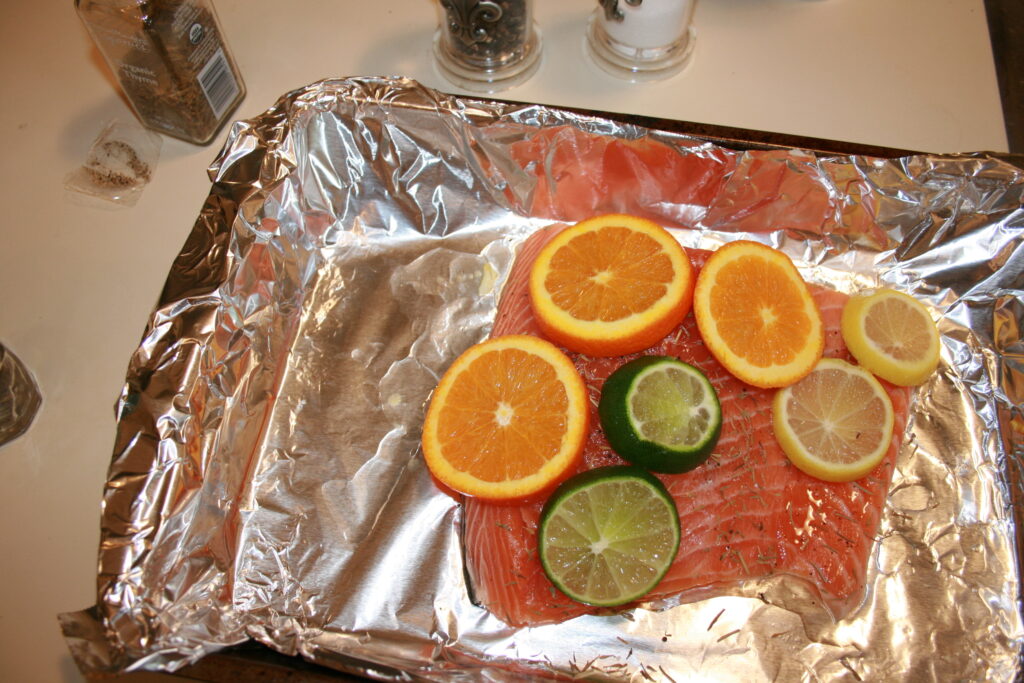
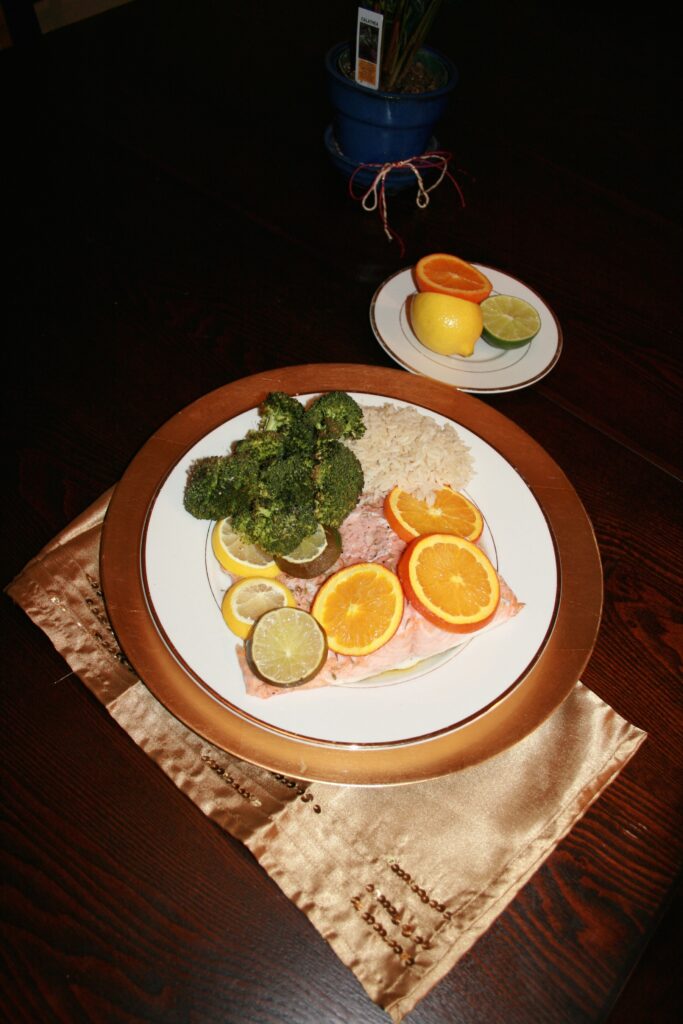
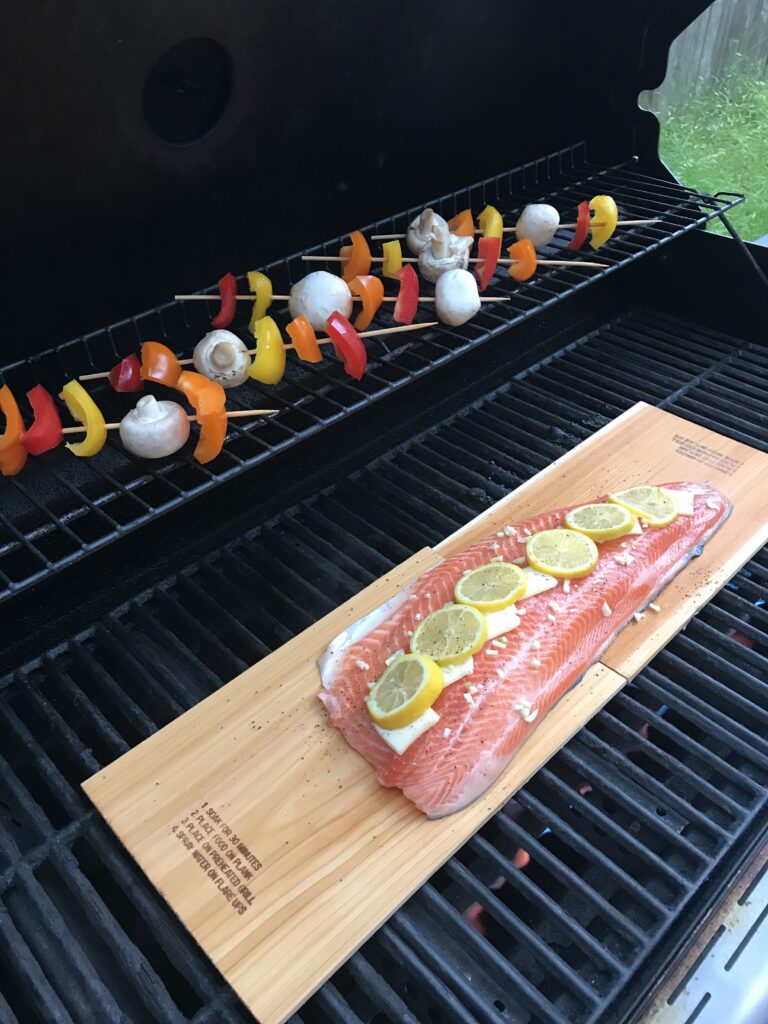
Try new things! Chicken and steak are pretty common, but don’t forget seafood. Salmon, oysters, and crawfish are full of high quality protein. If you are able to try wild game, bison and venison are great, healthy options too.
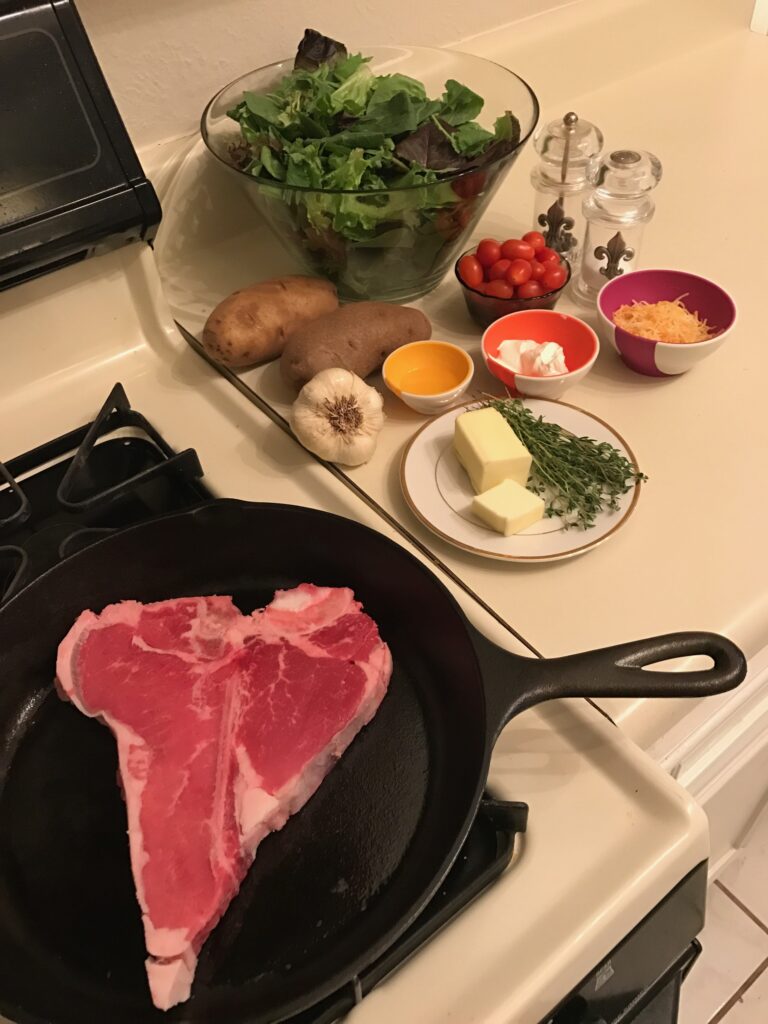
Currently in my fridge/freezer are: frozen crawfish, frozen oysters, venison, beef, bison, chicken, eggs.
9. Beware of Less Optimal Protein Sources
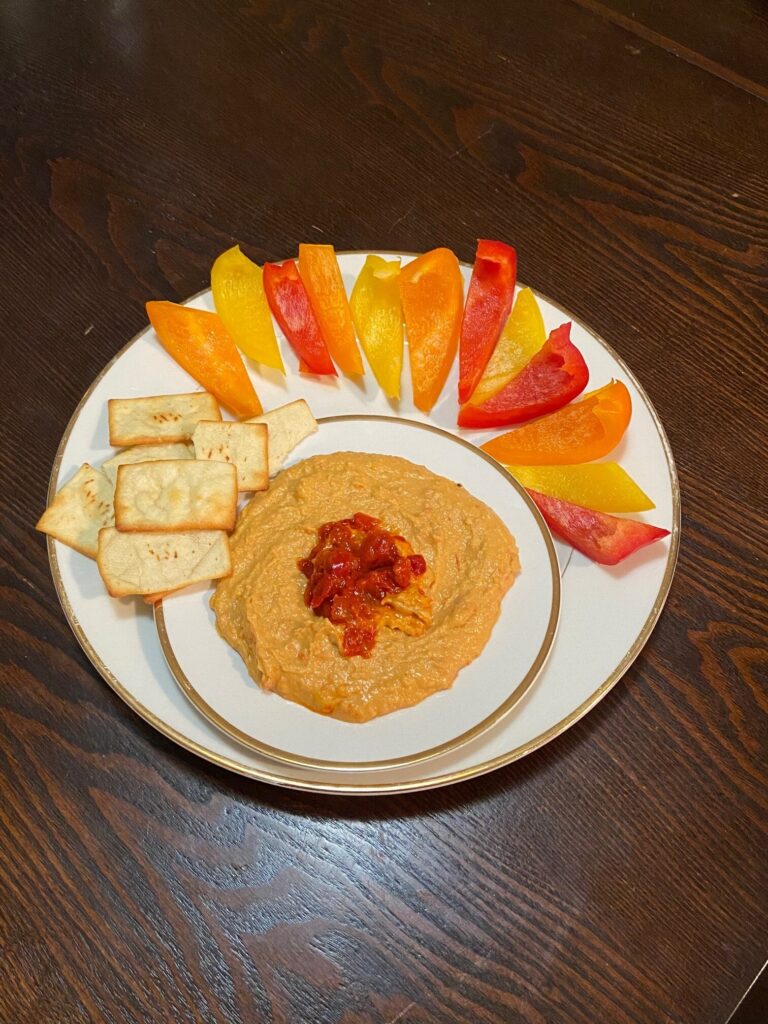
Peanut butter should not be your protein source. Nuts and seeds have some protein, but have way more fun, making the majority of their calories from fat. This does not make them inherently unhealthy! However, if you eat enough peanut butter or nuts to get enough protein, you’ll be getting literally hundreds of calories you might not want to consume.
That’s a quick way to tank any weight loss results you are seeking. If you are looking to gain weight, by all means, eat up. Just be aware of what you are taking in, despite what an internet sources says. Even this. 🙂 Read your nutrition labels!
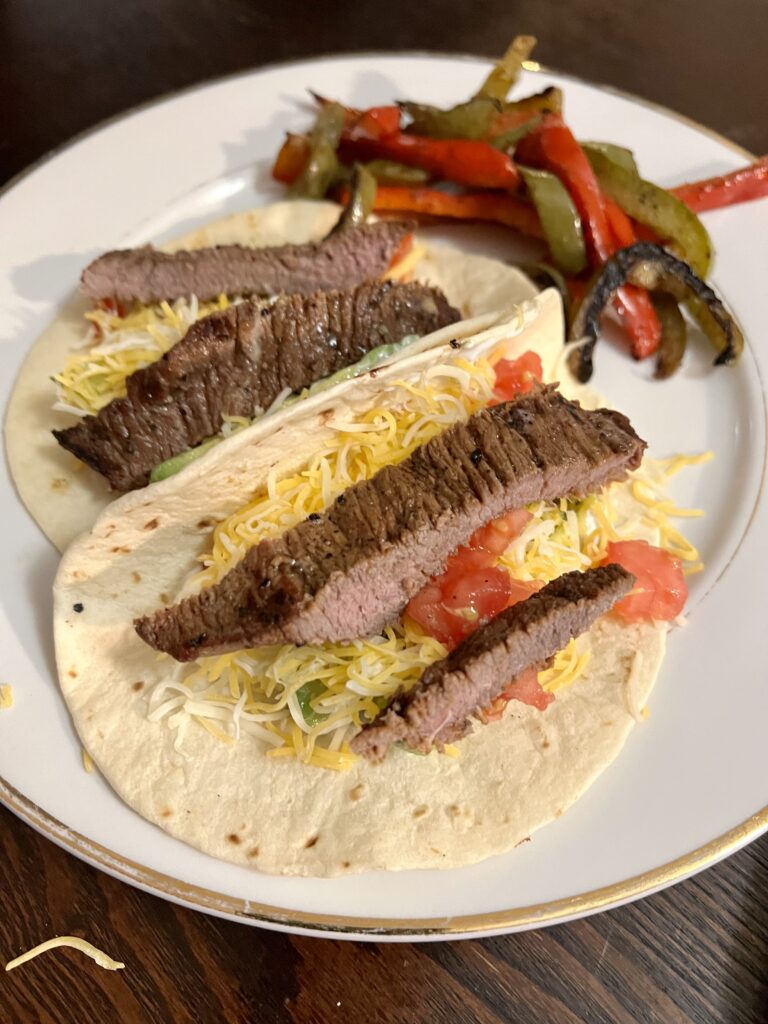
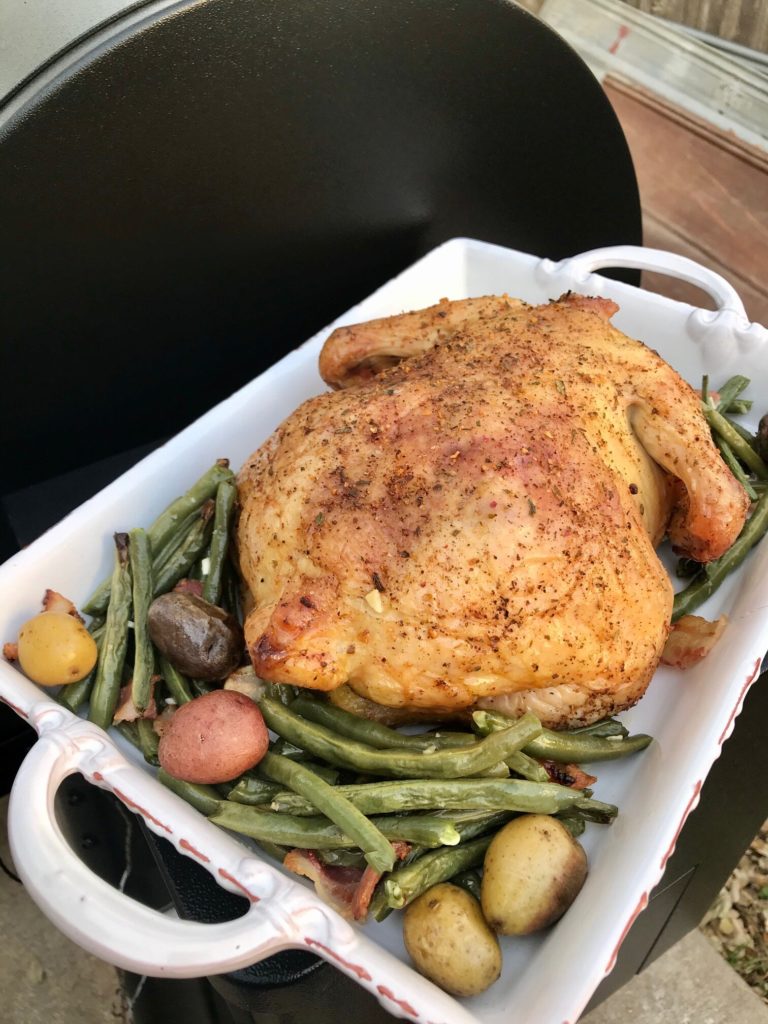
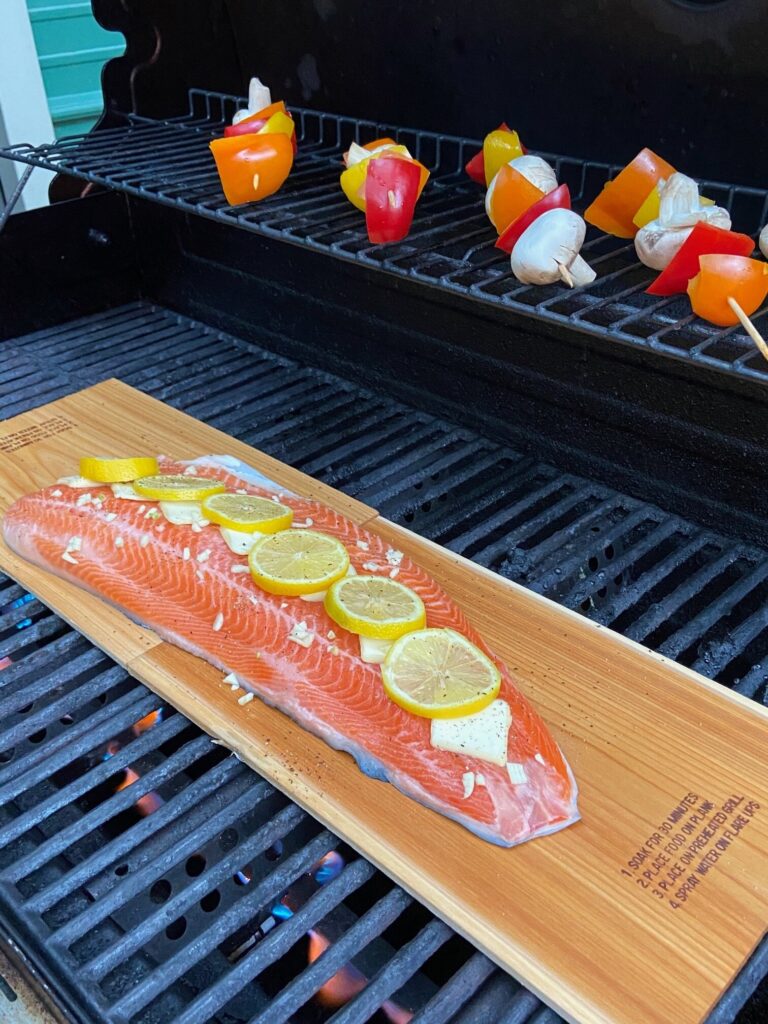
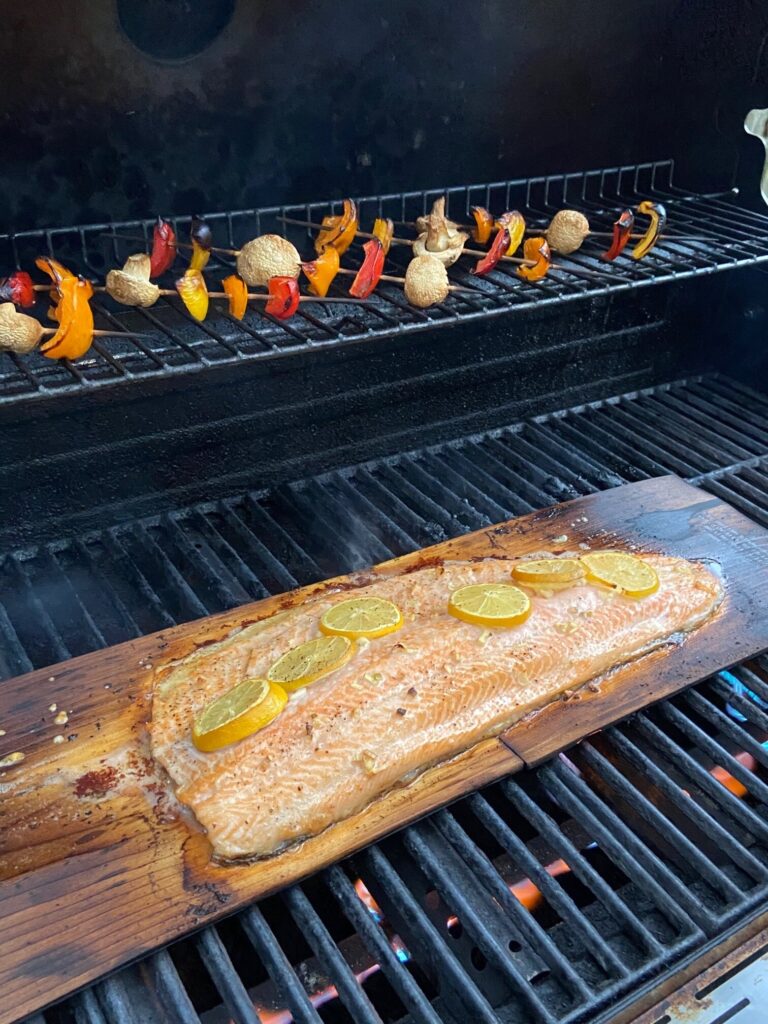
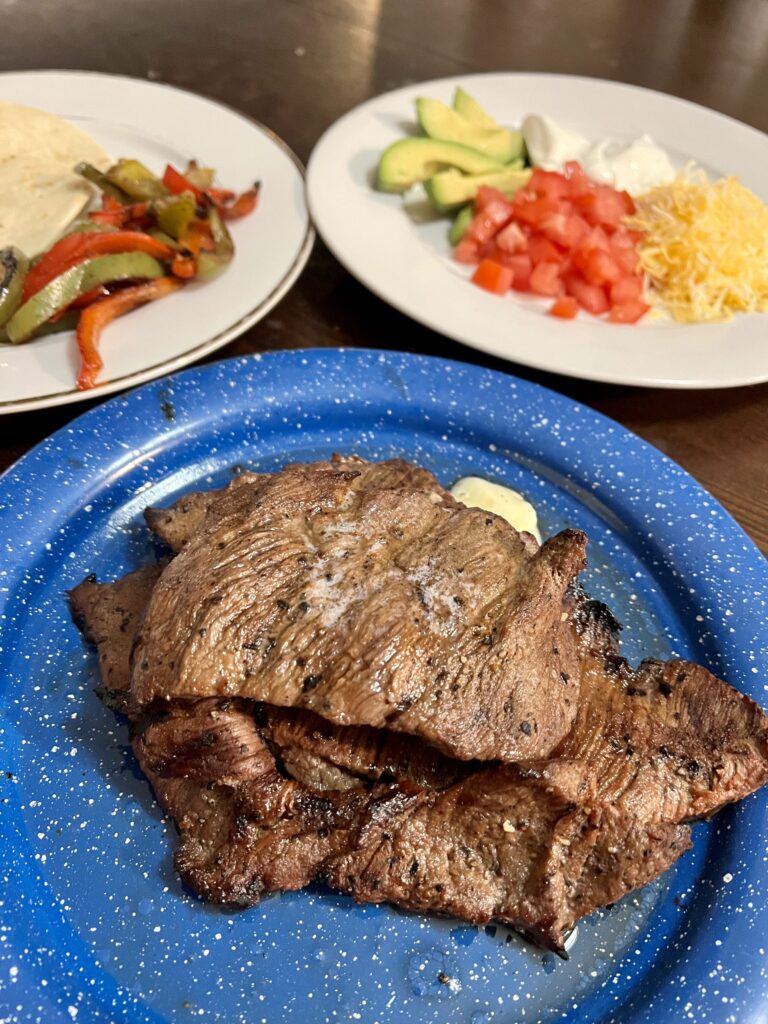
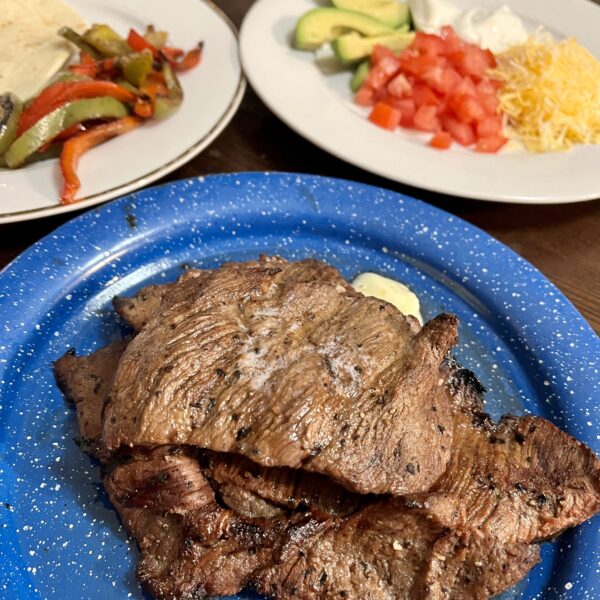
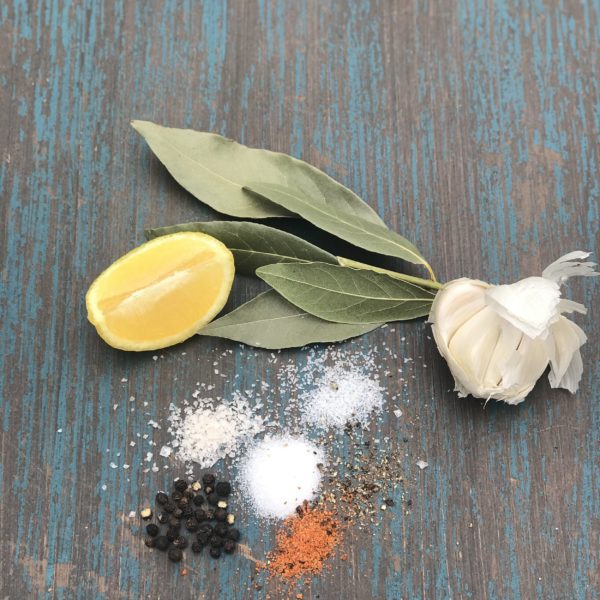
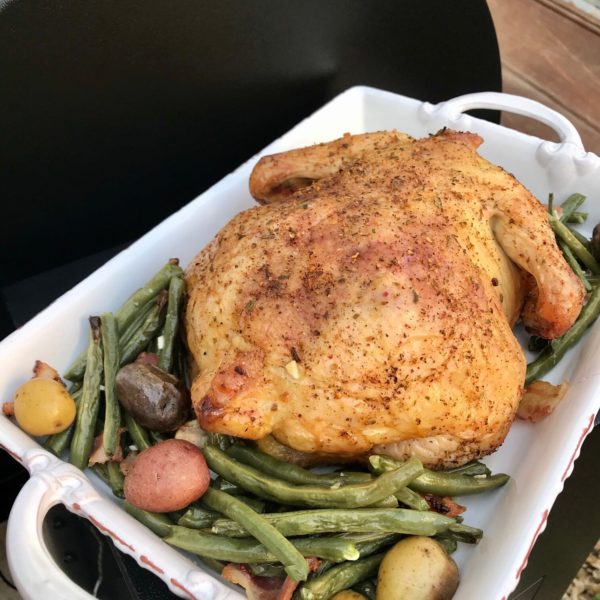
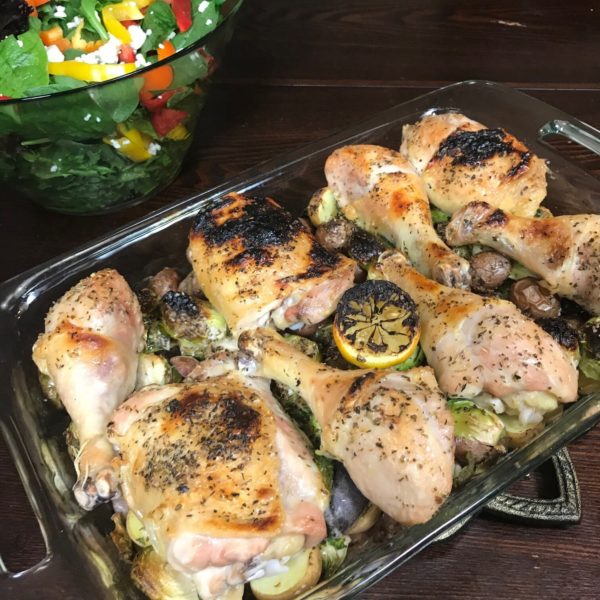
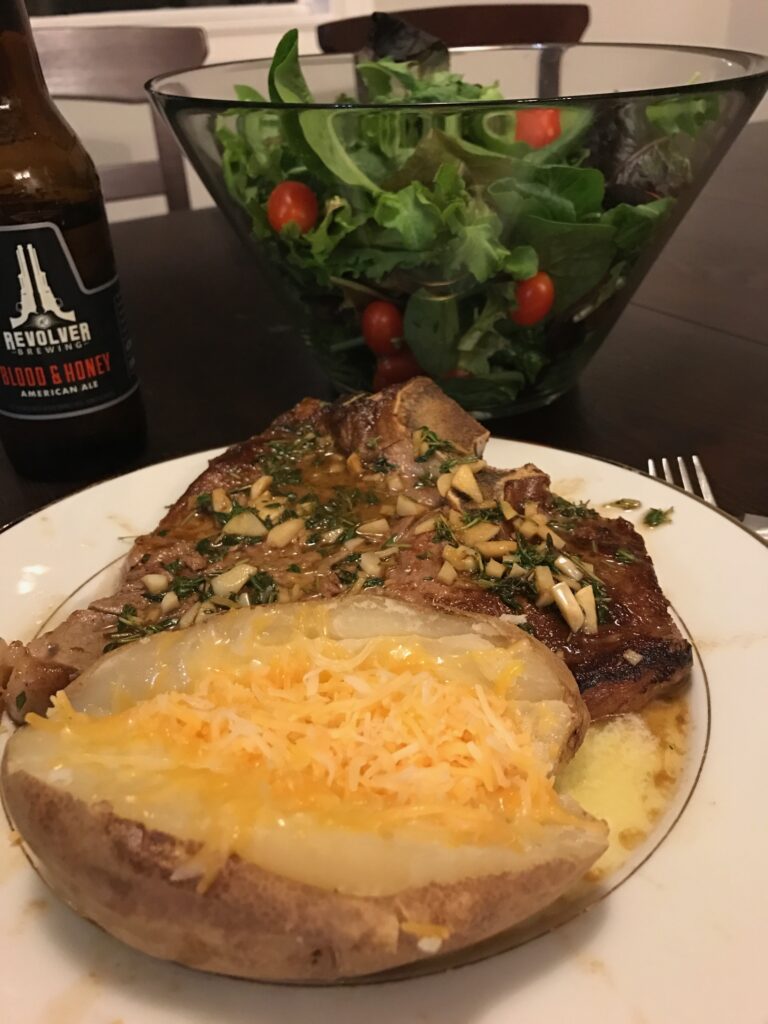
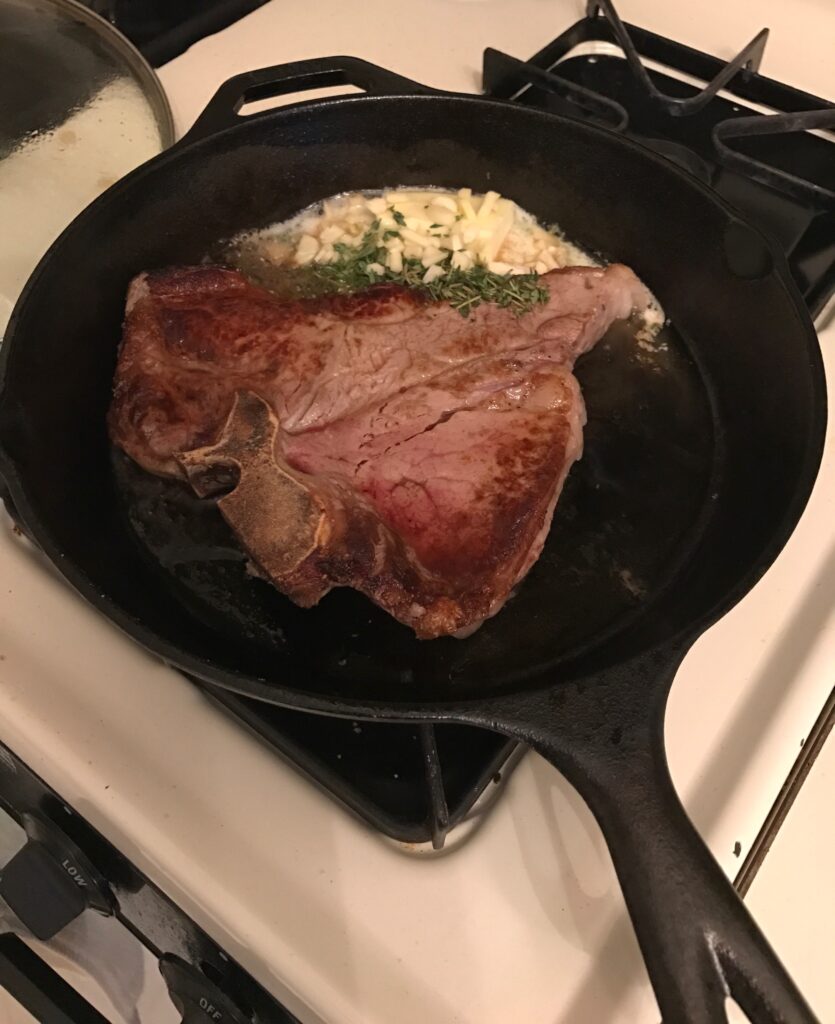
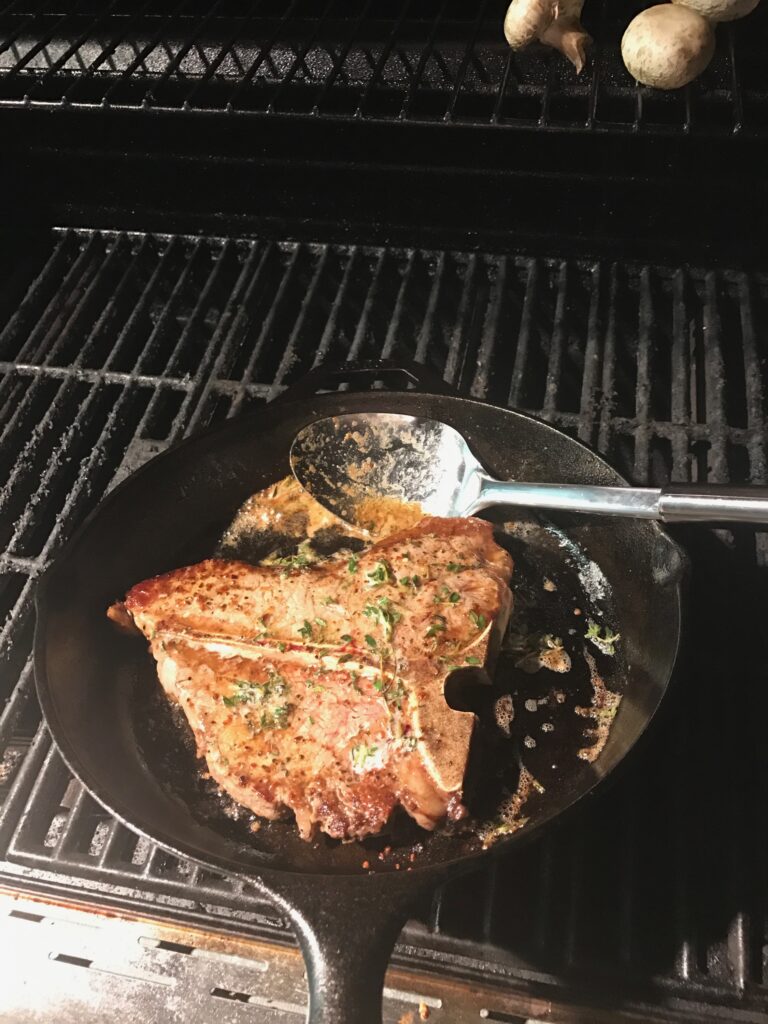
10. Get a Grill or Smoker
A grill or smoker is a game changer; hands down, this is my number one recommendation for how to make getting enough protein easier. Notice this is not easy, per se. I know. But it is worth the trouble and expense in the long run.
A grill or smoker makes meat delicious, easy to prepare, and even easy to prepare in bulk. Cook for days at a time! Have a party!
I love grilling so much, I wrote a whole post about why you should buy a grill. 🙂
Grills also make cleanup a breeze and don’t heat up your kitchen. And look at these grill marks:

How do You Get More Protein?
Did I miss anything? Let me know how you make sure to get enough protein! Stay consistent with your protein intake and training, and you’ll get where you want to be! If you still have questions, let me know. I’m a fantastic problem solver and I have time for you! 🙂

About the author
Kathryn Alexander is a strength coach and personal trainer in Austin, Texas. She loves hiking, college football, and the feel of a perfectly knurled barbell. Read more about Kathryn here.