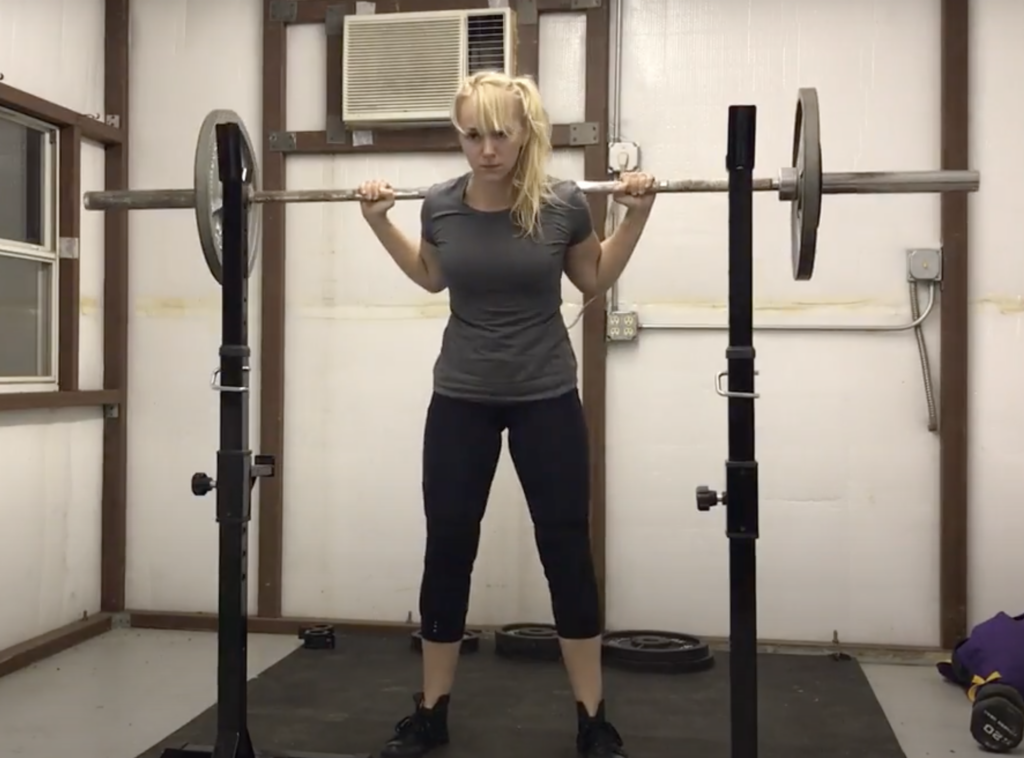
Learn how to do barbell rows for a bigger and stronger back! Barbell rows are one of the best movements for the upper body, and even for your whole body. They are a large, compound exercise that pays back the effort you put in, in spades!
If you are looking to build strength, develop your posterior, and show off your back, barbell rows should be a staple in your strength training program. Rows are an excellent exercise, both for the physique and performance benefits.
For the best back development, you’ll want to do a variety of exercises. Some of these will use dumbbells, bands, lighter weights, and various angles of pulling. But when you want to add depth to your physique, throw some weight on the bar and add in the barbell row.
Read on to learn more about what muscles the barbell row works, and how to set up rows and row variations for your best workouts!
What Are Barbell Rows?
The barbell row is one of the best upper body rowing movements, and maybe even one of the best upper body lifts. They are on par with bench press for being one of the most beneficial upper body lifts. Barbell rows primarily target several major muscle groups in the back, but they also engage muscles in the arms and shoulders. If you’re doing a bent-over barbell row without a bench or support, then you are also working your lower body, as your legs, glutes and low back provide stability.
What are the Benefits of Barbell Rows?
Barbell rows are highly effective for building muscle mass and strength in the back muscles. They strengthen the upper back, improve posture, and help counteract the effects of sitting and slouching and looking at the computer (or Instagram and TikTok) all day. You can gain benefits from rows no matter how much weight you are rowing, but they are a great exercise to really drive strength. And the strength you earn from performing the row in the bent-over position can also help improve your deadlifts and even bench presses.
What Muscles do Barbell Rows Work?
As mentioned above, barbell rows work a lot of muscles, including the latissimus dorsi, rhomboids, and trapezius, as well as the biceps and forearms.
Here’s a detailed look at the muscles worked by barbell rows:
Primary Muscles Worked by the Barbell Row
- Latissimus Dorsi (Lats):
- These large muscles run down the sides of your back and are primarily responsible for the pulling motion in the barbell row. They help build the V taper and accentuate a small waist.
- Rhomboids:
- Located between your shoulder blades, the rhomboids are involved in retracting the scapulae (pulling your shoulder blades together). Rhomboids are essential for great posture.
- Trapezius (Traps):
- The trapezius muscles span the upper back and neck, assisting in shoulder blade movement and stabilization. Traps make up much of your upper back muscles, and are crucial for balanced development and ideal posture.
Secondary Muscles Worked
- Erector Spinae:
- This group of muscles runs along the spine and helps in maintaining proper posture and stabilizing the back during the bent-over row. Spinal erectors are very pretty muscles, both in men and women.
- Posterior Deltoids (Rear Shoulders):
- These muscles on the back of the shoulders assist in the pulling motion.
- Biceps Brachii:
- The biceps in the front of the upper arm are engaged during the pulling motion of the row.
- Forearms:
- The muscles of the forearms are involved in gripping the barbell. Heavy rows will really help build grip strength.
- Core Muscles:
- The abdominal muscles and obliques help stabilize the body during the movement. Remember, a strong back is a huge component of a strong core.
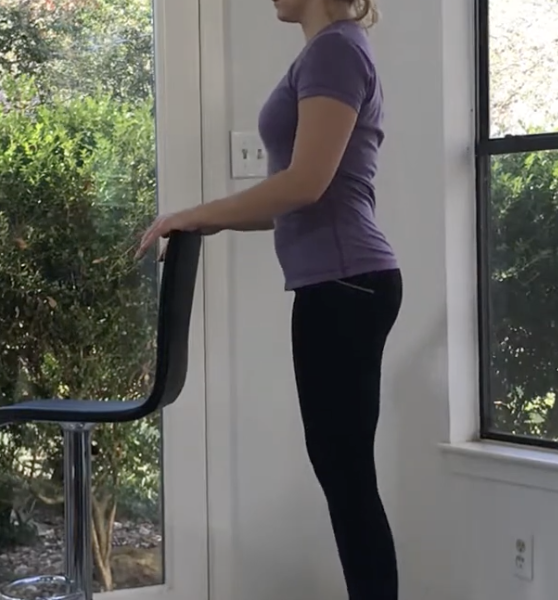
Form and Technique for the Best Barbell Row
Maintaining proper form is crucial to effectively target these muscles and avoid injury. Here are some key points to remember:
- Neutral Back: Keep your back straight and avoid rounding to prevent strain on the lower back. Keep this correct position through the whole movement.
- Engaged Core: Tighten your core muscles to maintain stability.
- Shoulder Blade Retraction: Focus on squeezing your shoulder blades together at the top of the movement. Imagine you’re trying to elbow someone behind you!
- Controlled Movement: Lift and lower the barbell in a controlled manner to maximize muscle engagement and prevent using momentum. Caveat: you can pull powerfully. Be sure you control the descent so you don’t let gravity steal your work.
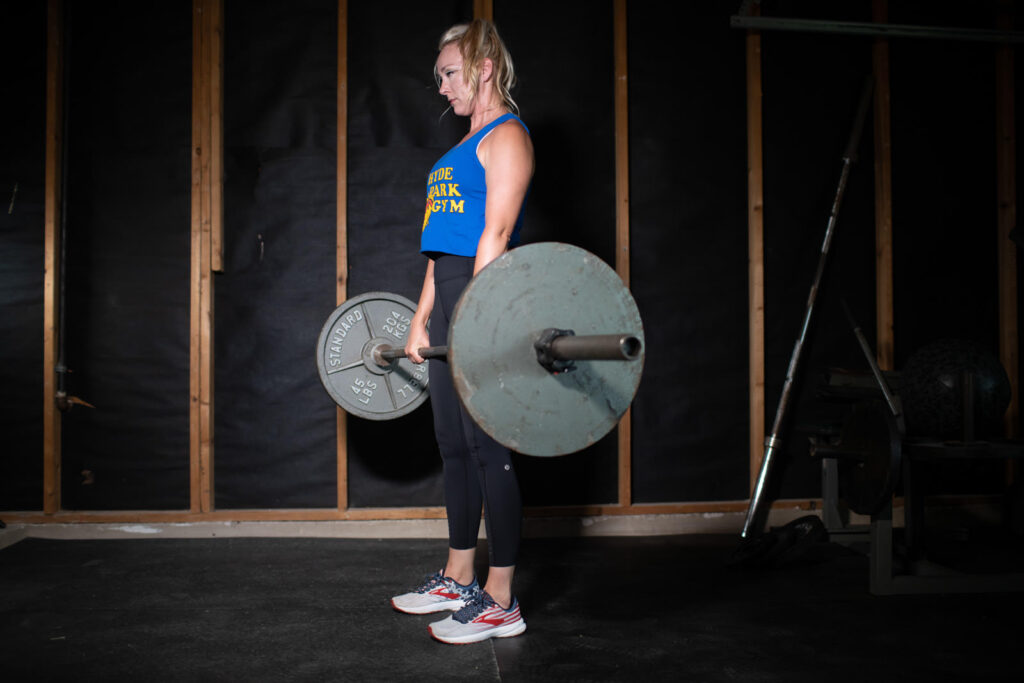
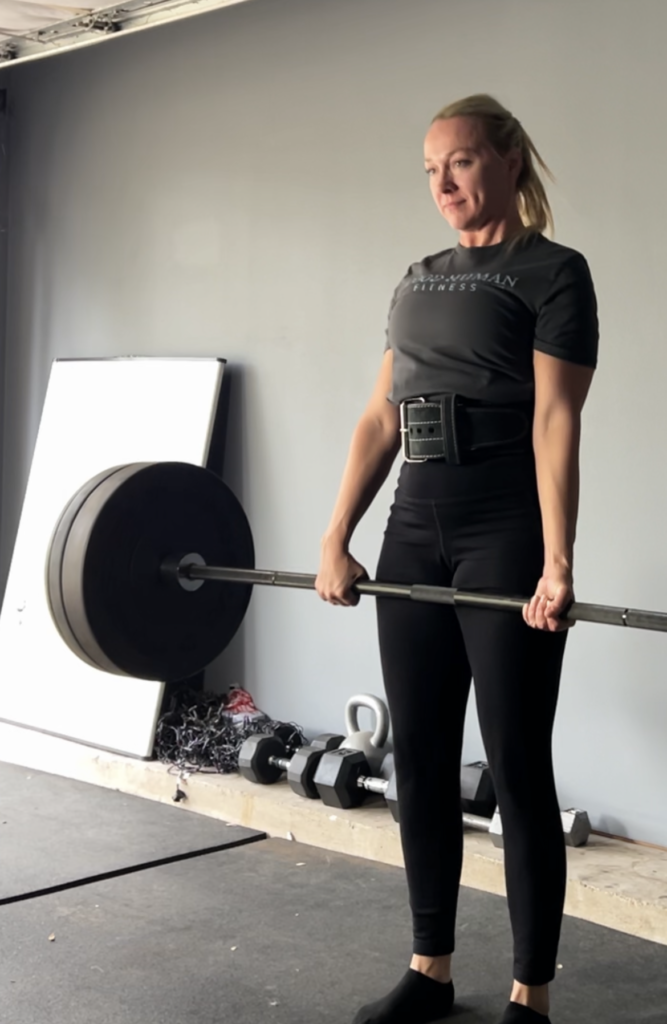
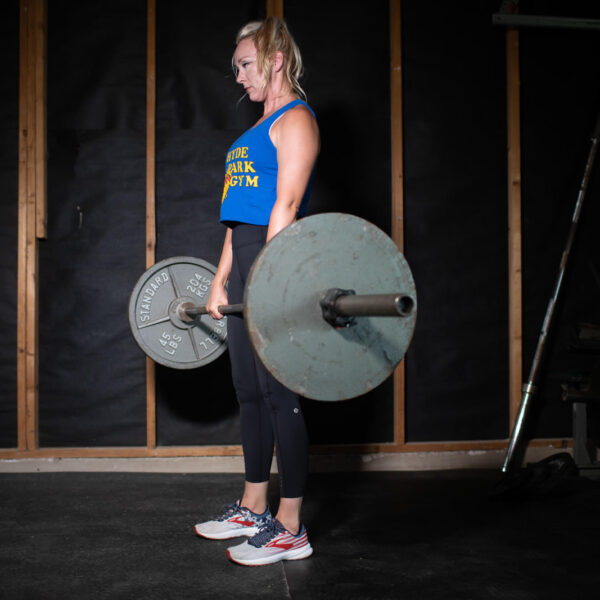
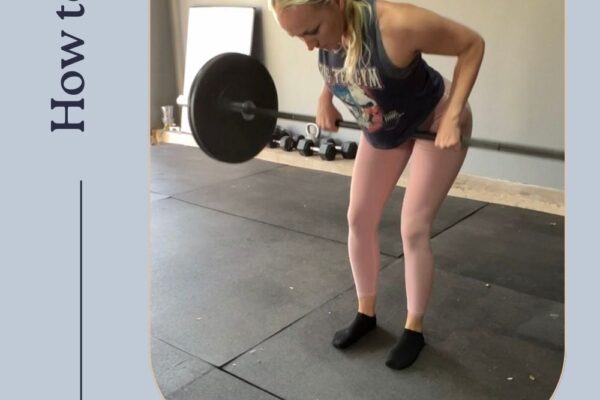
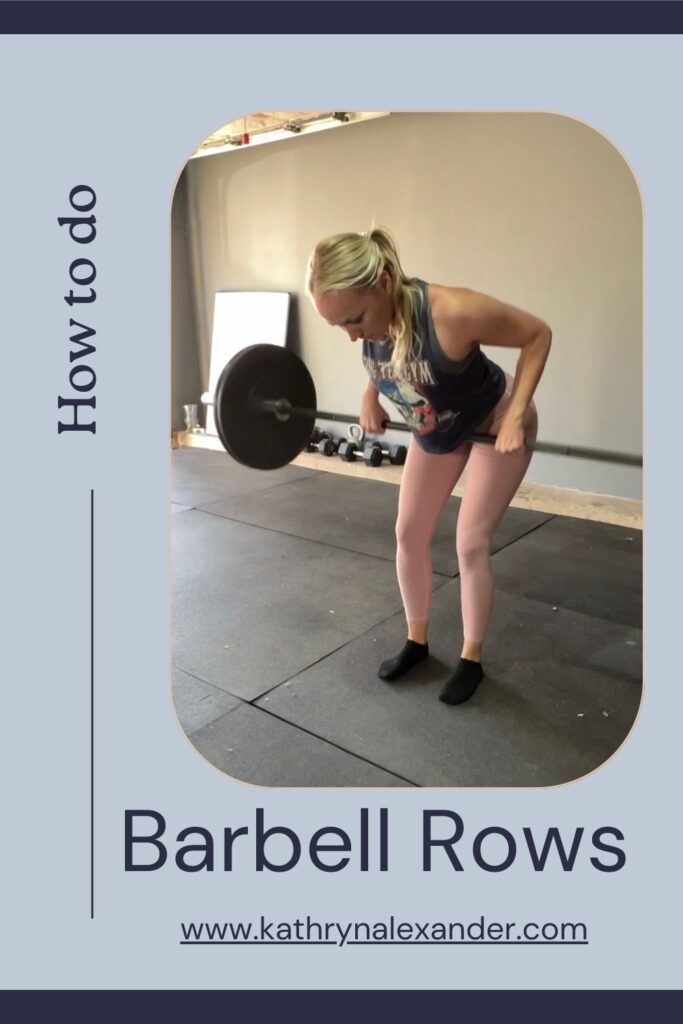
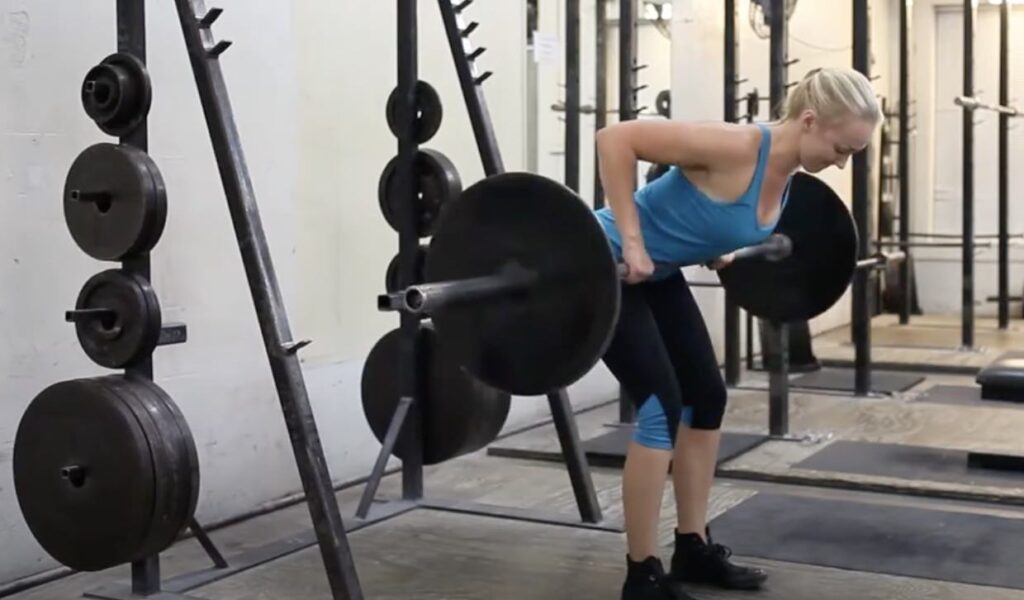
How to Perform Barbell Rows
Let’s discuss the regular barbell row first. This is the first thing most people will think of when you say barbell row. Much of this applies to the other barbell row exercises and variations, unless other technique is specified.
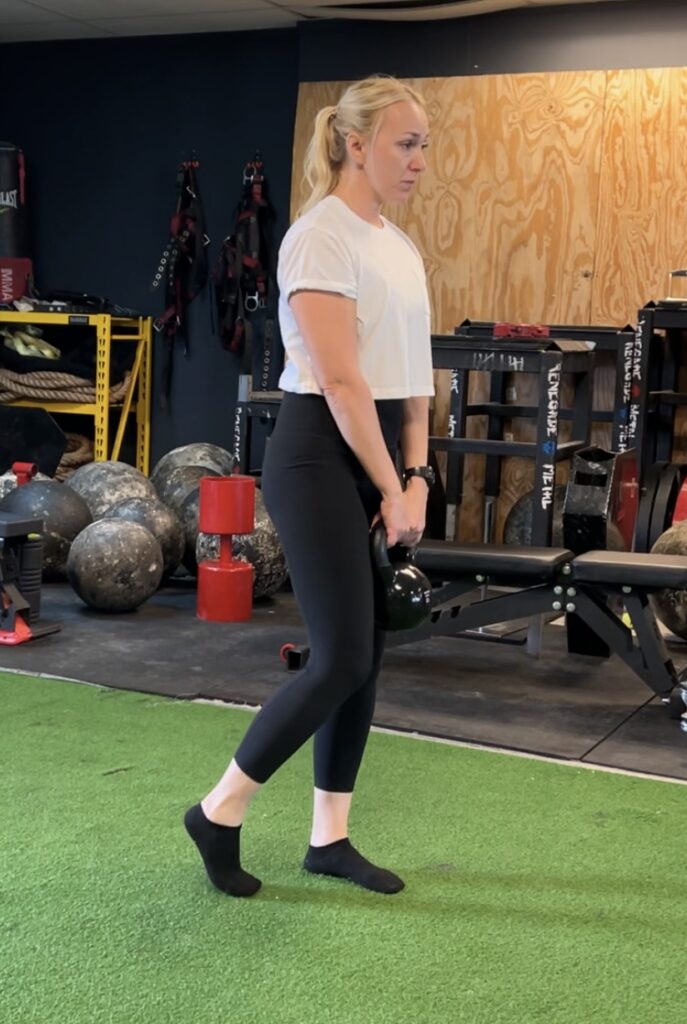
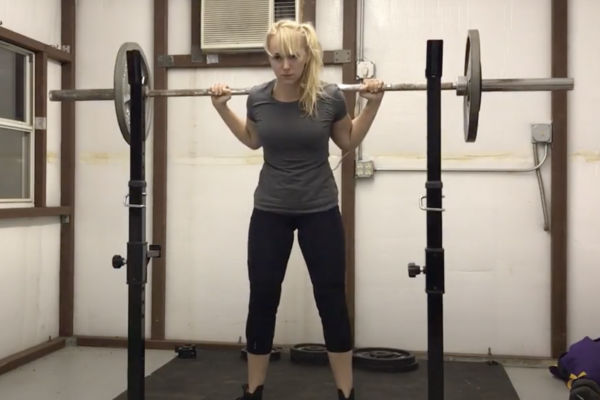
- Starting Position:
- Stand with your feet shoulder-width apart.
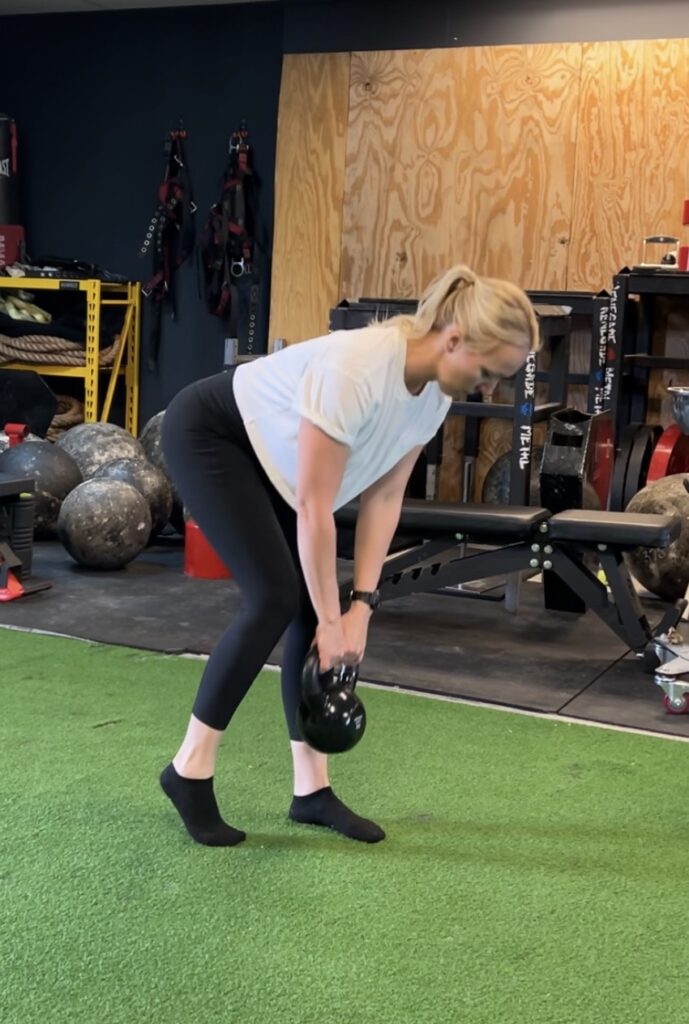
- Bend your knees slightly and hinge at the hips, keeping your back straight and your torso leaning forward.
- Keep your feet flat on the ground, and as you hinge, send your hips behind you.
- Grasp the barbell with an overhand grip (palms facing down) just wider than shoulder-width apart.
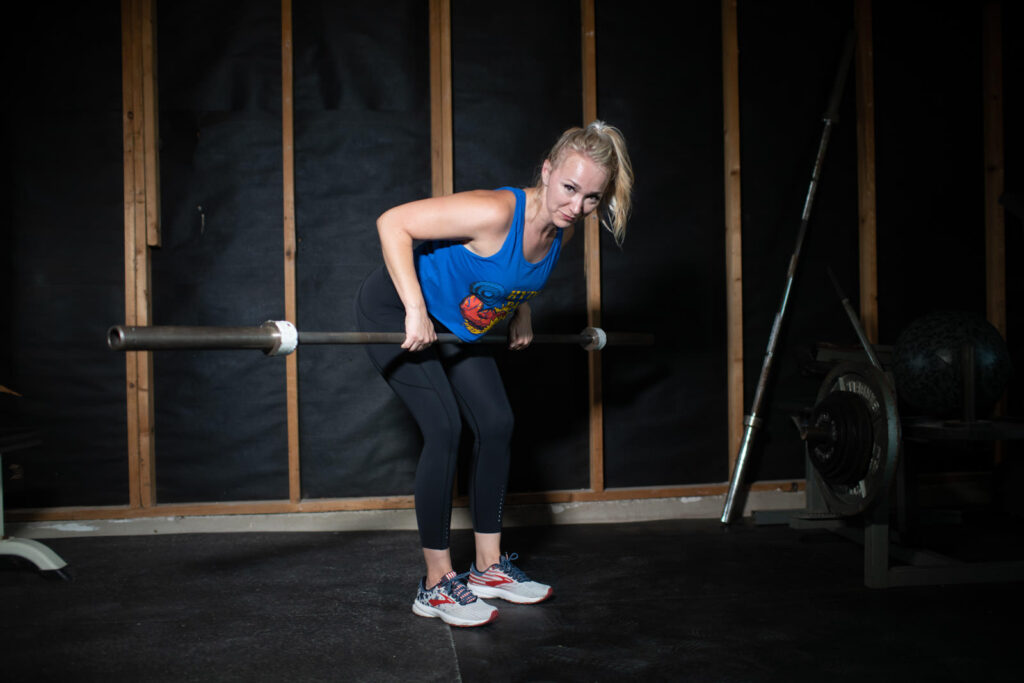
- Execution:
- Keeping your back flat and core engaged, pull the barbell towards your lower ribcage or upper abdomen. Mid torso.
- Squeeze your shoulder blades together at the top of the movement.
- Drive your elbows behind you!
- Lower the barbell back to the starting position in a controlled manner, fully extending your arms.
- From here, move into your next rep and continue for as many as is your goal.
- Breathing:
- Inhale as you lower the barbell.
- Exhale as you pull the barbell towards your body.
Tips for Proper Form
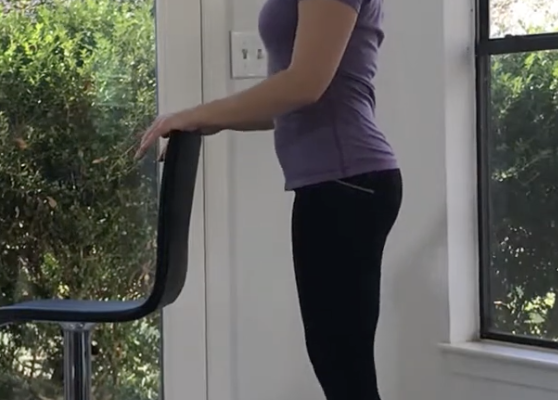
- Maintain a Neutral Spine: Avoid rounding your back to prevent disc injury. Keep your spine in a neutral position throughout the exercise. The most effective way to make sure you have good form is to make sure you have a solid hip hinge.
- Engage Your Core: Tighten your abdominal muscles to stabilize your torso.
- Control the Movement: Perform the exercise in a controlled manner to maximize muscle engagement and reduce the risk of injury.
- Avoid Using Momentum: Focus on using your back muscles to lift the weight, rather than swinging the barbell with momentum. You can use a little body English later, but work on learning to do the bent over row really well before you use heavier weights.
Mistakes to Avoid While Doing Barbell Rows
The most common mistakes to avoid while doing the barbell rows are setting up with bad form, throwing the weight instead of moving deliberately through it, and creeping out of good form (especially in the top position). Let me explain:
Great barbell row form necessitates and strong hinge position. If you don’t have a solid hinge, then you’ll want to work on strengthening that position before you row. As far as throwing the weights around instead of moving through the weight, I bet you’ve seen this before. Someone loads up a barbell, haphazardly bends over, and jerks their torso up like they are at the beginning of a clean. I don’t criticize because I don’t know people’s goals, but when this happens, often someone is using heavy weight that they can’t effectively handle, or they’re just not focused on the main muscles that perform the row movement. Instead, focus on keeping that neutral back/rigid torso, and driving your elbows up! At the top of the row, your upper arms will be in line with your torso, or even behind it.
Finally, a big mistake I see people make is to use straps too soon. Sometimes, grip strength becomes a limiting factor, of course. When you are rowing a heavy weight and the weight slips out of your hands, it’s temping to want to turn to straps. They’re not bad to use, and I do recommend using them in later stages of your development. But, don’t jump immediately to using straps, as this can hold back your grip strength and progress.
If grip strength is severely limiting you, I suggest you use straps only on your heaviest sets. Really challenge yourself. This will have huge carry over to your deadlifts.
Barbell rows are one of the most effective exercises, and are great for moving a good amount of weight and building strength. This requires correct form, and performing it the right way through the entire movement, however.
Variations of Barbell Rows
The barbell row exercise has several variations that target different muscle groups and can add variety to your workout routine. Here are some common variations:
1. Pendlay Row
- Description: Named after Glenn Pendlay, the Pendlay row is a strict form of the barbell row where the barbell is set on the ground between each rep. A dead stop makes it tougher. These are strangely fun! 😆
- Focus: Emphasizes explosive power from the ground and stricter form.
- How to Perform: Start with a shoulder width grip. Start with the barbell on the ground, hinge at the hips, grip the barbell with a double overhand grip, and pull it to your lower chest, then return it to the ground.
2. Yates Row
- Description: Named after bodybuilder Dorian Yates, Yates rows use an underhand grip and a more upright torso position.
- Focus: Places more emphasis on the lower lats and biceps.
- How to Perform: Bend slightly at the hips with a supinated (underhand) grip, and row the barbell to your lower abdomen or belly button.
3. T-Bar Row
- Description: Uses a T-bar row machine or a landmine attachment with a handle.
- Focus: Targets the middle of the back.
- How to Perform: Place the end of a barbell in a landmine attachment, straddle the bar, and use a V-handle to pull the bar to your chest. Please make sure it is secure so you do not end up on an episode of gym bloopers.
4. Single-Arm Barbell Row
- Description: Performed one arm at a time, similar to a single-arm dumbbell row.
- Focus: Allows for a greater range of motion and unilateral strength development.
- How to Perform: Place one end of the barbell in a corner or landmine attachment, bend over with one hand on the barbell, and row it to your hip.
5. Meadows Row
- Description: Named after bodybuilder John Meadows, this is a single-arm row using a landmine attachment. (John was a super, super nice guy, by the way. I met him briefly at a clinic in Dallas.)
- Focus: Targets the upper back and lats with a unique angle.
- How to Perform: Place one end of the barbell in a landmine attachment, stand to the side, and row the barbell with a pronated grip.
6. Inverted Row
- Description: Uses body weight and is performed under a fixed barbell or Smith machine.
- Focus: Engages the upper back and core muscles.
- How to Perform: Lie under a barbell set in a rack in a nearly horizontal position, grab the bar with an overhand grip, and pull your chest to the bar while keeping your body straight. This is a great way to involve core more, also.
7. Chest-Supported Row
- Description: Uses a bench or a chest-supported row machine.
- Focus: Removes the lower back from the movement, focusing entirely on the upper back.
- How to Perform: Lie face down on an incline bench and row the weights to your chest.
8. Seal Row
- Description: A variation of the chest-supported row where you lie flat on a bench.
- Focus: Eliminates lower back involvement, focusing on the upper back and lats.
- How to Perform: Lie face down on a bench with weights below, and row the barbell to your chest.
Other Row Variations
In addition to barbell rows, there are several non-barbell rowing exercises that can effectively target and develop your back muscles. These are great to do always, but especially as you are learning how to do barbell rows. Dumbbell rows are a popular alternative, allowing for unilateral training to correct muscle imbalances.
Single-arm dumbbell rows involve bending over a bench and rowing a dumbbell to your hip, engaging the lats and upper back. Bent-over dumbbell rows can be performed similarly to barbell rows but with a dumbbell in each hand, providing a greater range of motion and muscle engagement.
Seated cable rows are another excellent exercise for the back, utilizing a cable machine to maintain constant tension throughout the movement. This exercise focuses on the middle back and helps improve posture. A seated cable row can be done with one arm at a time for another fun variation. T-bar rows, which use a T-bar row machine or a barbell with a landmine attachment, emphasize the middle back and provide a more stable base, allowing you to lift heavier weights safely.
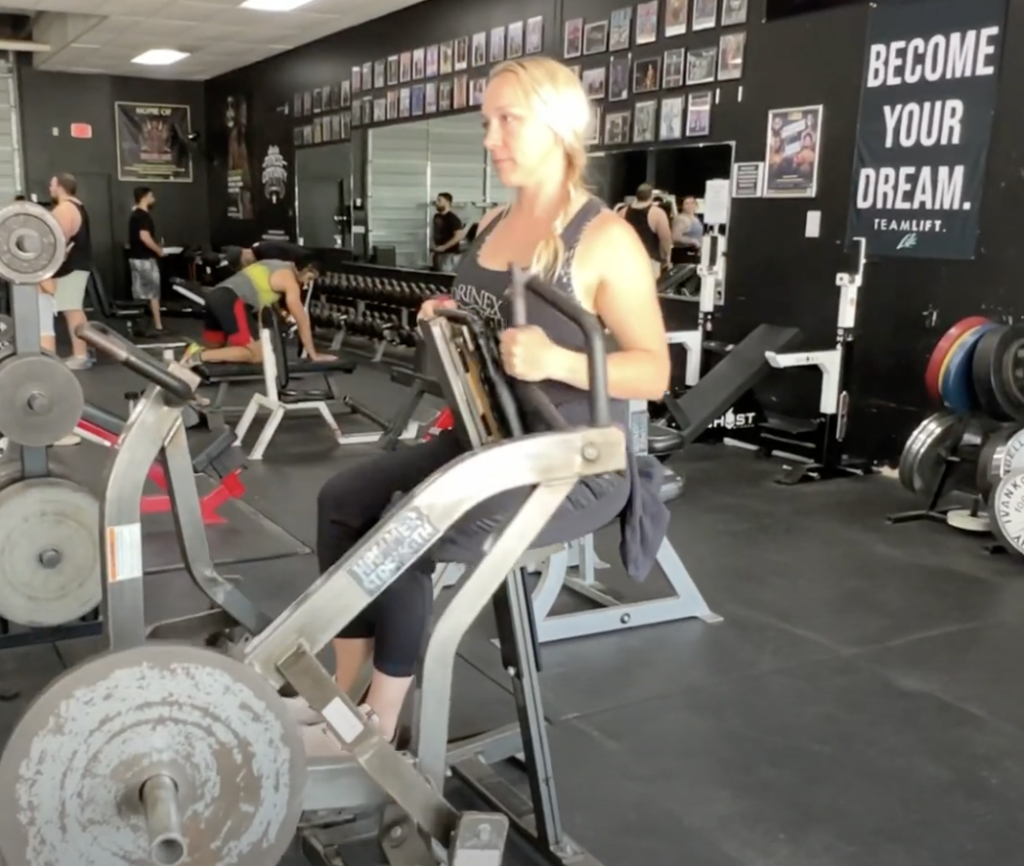
Machine rows, such as the Hammer Strength iso-lateral row or the seated row machine, offer guided motion and adjustable resistance, making them suitable for all fitness levels.
For a unique variation, the renegade row combines a plank position with a rowing motion, challenging both the back muscles and the core. An upright row isn’t exactly like a horizontal row, but is great for upper back development. Lastly, the face pull, performed with a rope attachment on a cable machine, targets the rear deltoids and upper back, helping to improve shoulder stability and posture. Incorporating a variety of these rowing exercises into your routine can ensure balanced development and reduce the risk of injury by strengthening different areas of the back.
Of course, you’ll want to round up your training program with upper body work in the opposite direction, of course. Meaning, bench press, pushups, and overhead presses, rear delt work, triceps and biceps work.
Add Barbell Rows to Your Training Now!
So there you have it! These are powerful movements that allow you to move a lot of weight and work the entirely of your back muscles. Barbell rows are a fantastic, compound movement, a fundamental exercise, and one of the best back exercises ever. They allow you to train with a heavy load and are possibly the best way to add mass to your back. Train barbell rows for the most complete whole back workout! And as always, if you have questions, let me know!
Work With Me!
If you are looking for a personal trainer in Austin, I’d love to talk with you! If you are not in Austin, Round Rock, or central Texas, let’s talk about online training.
Message me here for a free consult about personal training in Austin, Texas, or here for online personal training, and we’ll discuss your goals, background, equipment availability, schedule, and exercise preferences.
Let’s get you strong and healthy! 💪

About the author
Kathryn Alexander is a strength coach and personal trainer in Austin, Texas. She loves hiking, college football, and the feel of a perfectly knurled barbell. Read more about Kathryn here.